As well sorting the rudder, steering system and centre plate (as detailed in Part One) the past few months have focussed on cleaning up and varnishing the interior of Zenith. This has taken hours of work, a number of the copper nails were dressed to make sure nothing snagged on them. The bulkheads were cleaned up, they appeared to have a tar like substance on them, this was a pain to remove. I fitted two reinforcing pieces either side of the centre plate case to spread the load of the centre plate pivot bolt.
After everyone was cleaned up and sanded several weeks were spent varnishing the interior, bulkheads and centre plate case. With the interior varnishing completed it was time to think about getting the decks on.
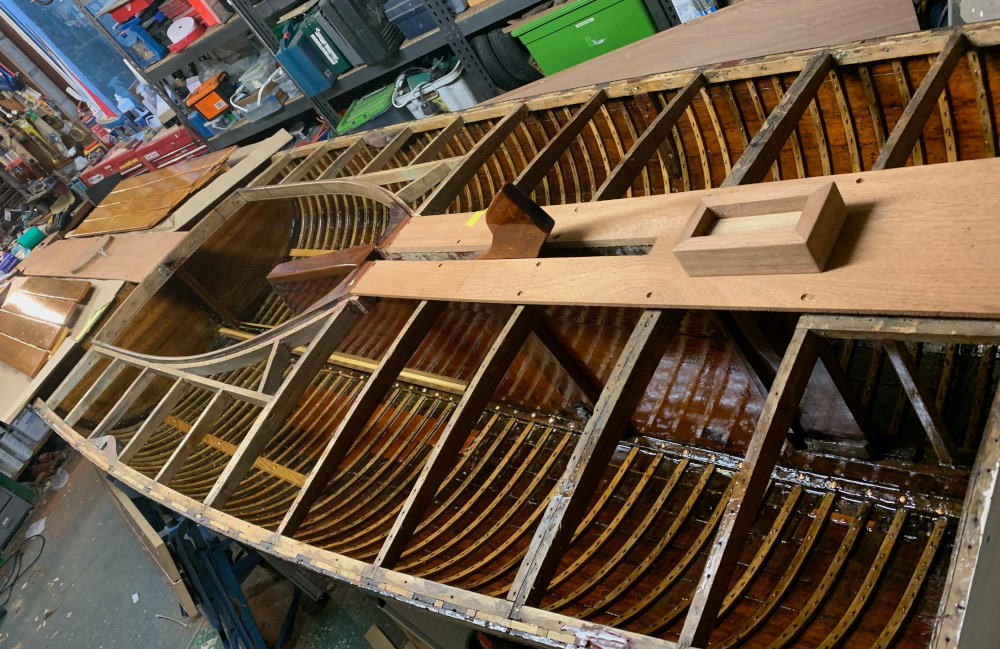
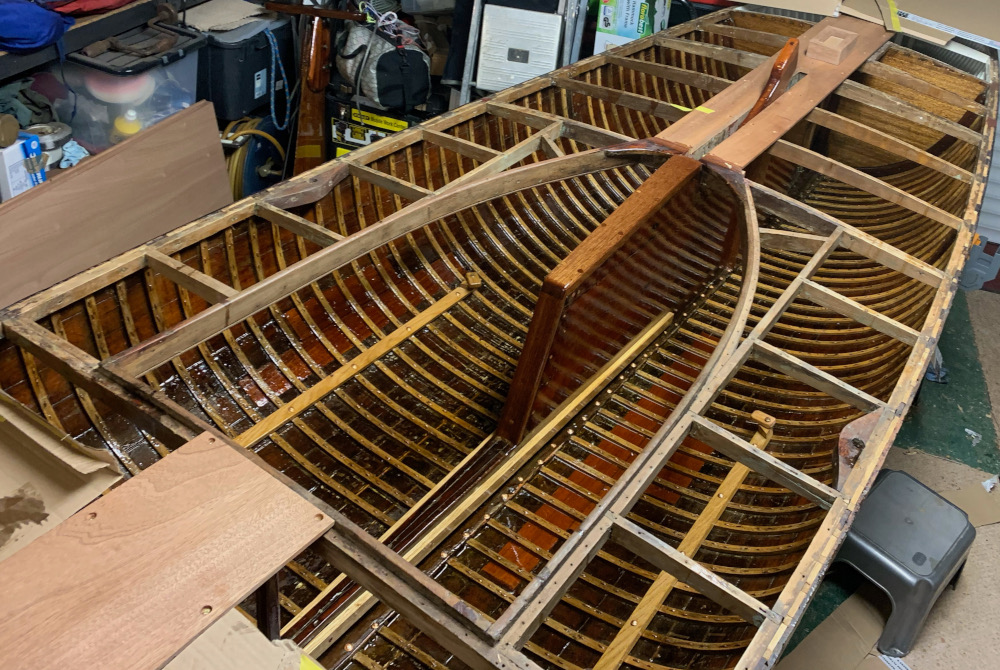
King planks
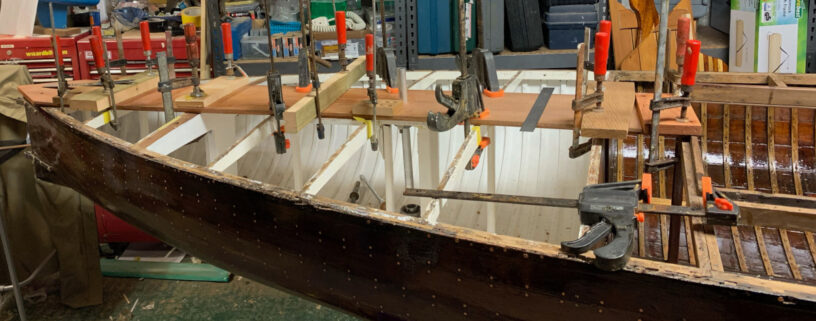
The pictures of the varnished interior show the king planks. These are 200mm wide planks Utile, with a depth of 13mm. I’ve routered out a 6mm rebate in each side so the 6mm plywood decks will slot in under the edges of the king planks.
One of the critical issues to get right was the position of the rudder yoke shaft. After much measuring, checking and rechecking I managed to drill the hole for this in the correct place.
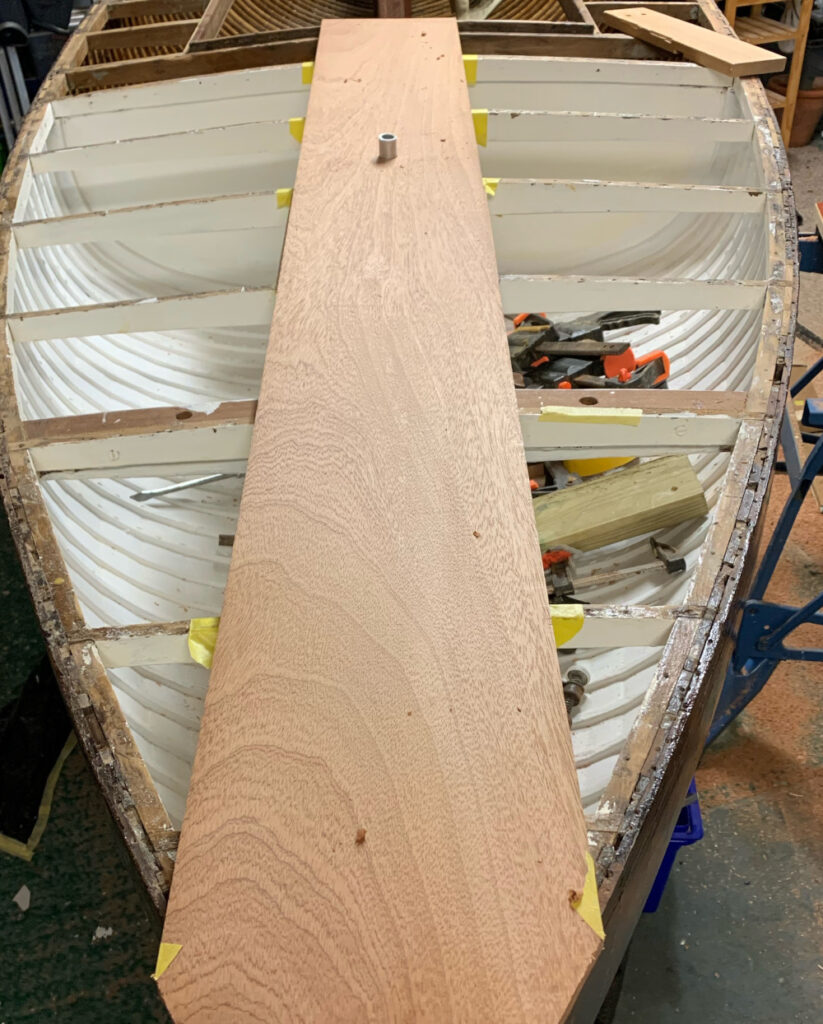
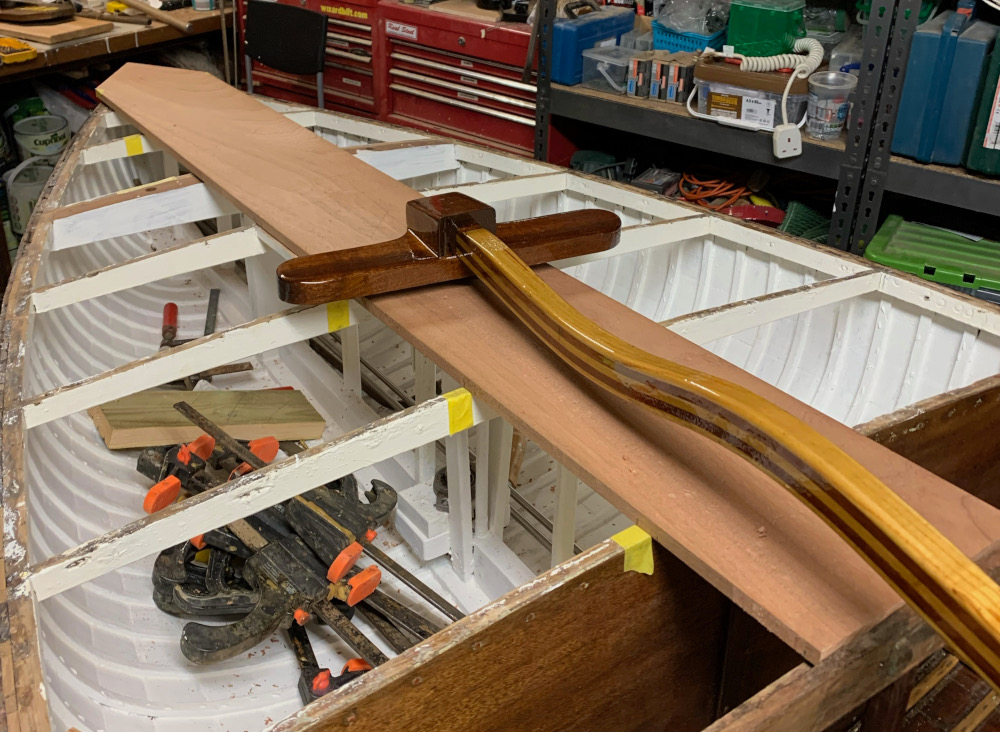
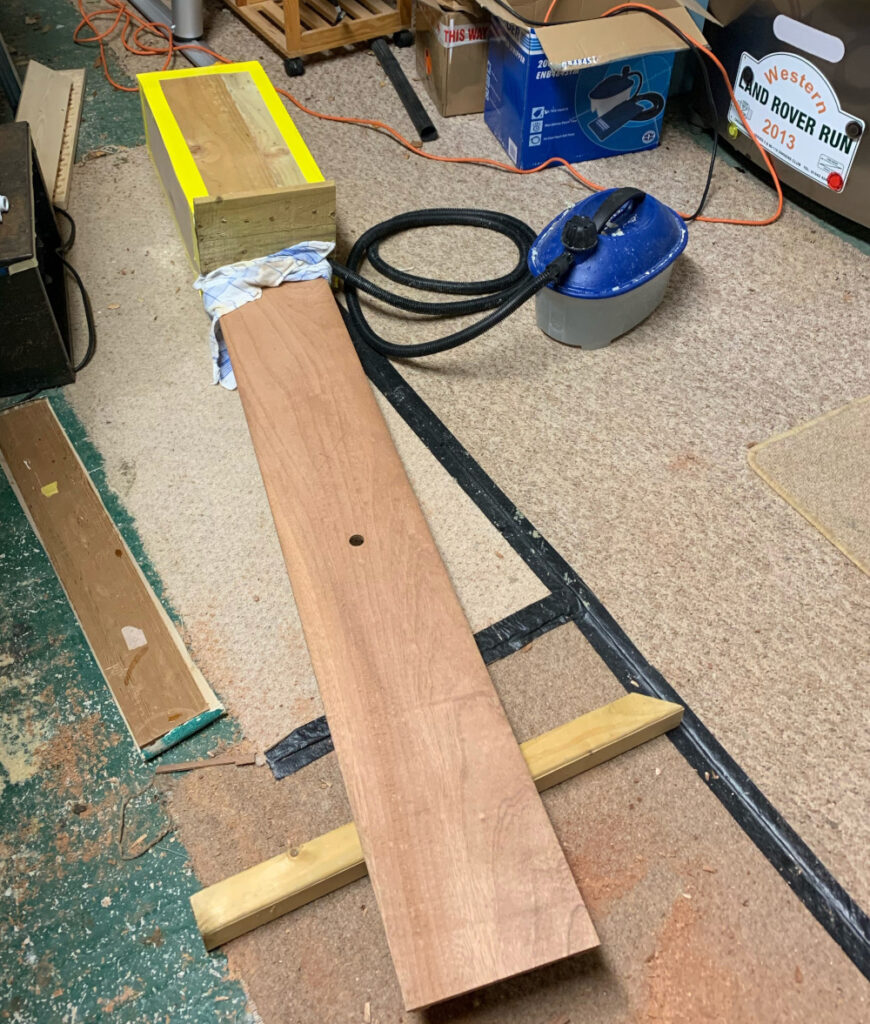
The 13mm Utile was quite pliable and takes the shape of the deck camber without a problem for most of the plank length. The deck camber becomes tighter at the ends of the bow and stern. To get the timber to take the correct shape I had to build a small steaming box to steam the end of each plank. 30 minutes of steam for my wall paper stripper meant I could get each plank end to take the correct shape.
Deck hatches
As Zenith has a bow tank and a stern tank there needs to be a way of accessing the tanks to check for water, ensure the buoyancy bags are inflated etc. I didn’t want to fit plastic hatches so decided to make some wooden circular inspection hatches. These needed a deck ring and a hatch cover; mocking these up with some off cuts showed that the most aesthetically pleasing approach would be to have a 6mm thick deck ring and a 6mm thick hatch cover.
I was able to source some suitable timber and needed to cut a circular hole in each king plank and to cut circular discs to make the deck ring and the hatch covers.
The easiest way to cut the holes was with a suitably sized hole saw. I had to have the holes in the king planks to be big enough to let me get my hand and forearm into the tank. After trying various drills the only tool I had with enough torque to turn the holes saws (180mm and 140mm) was a heavy duty SDS drill fitted with a conventional chuck.
A 140mm diameter hole was cut in each king plank and the 180mm hole saw used to cut the hatch covers and the deck ring.
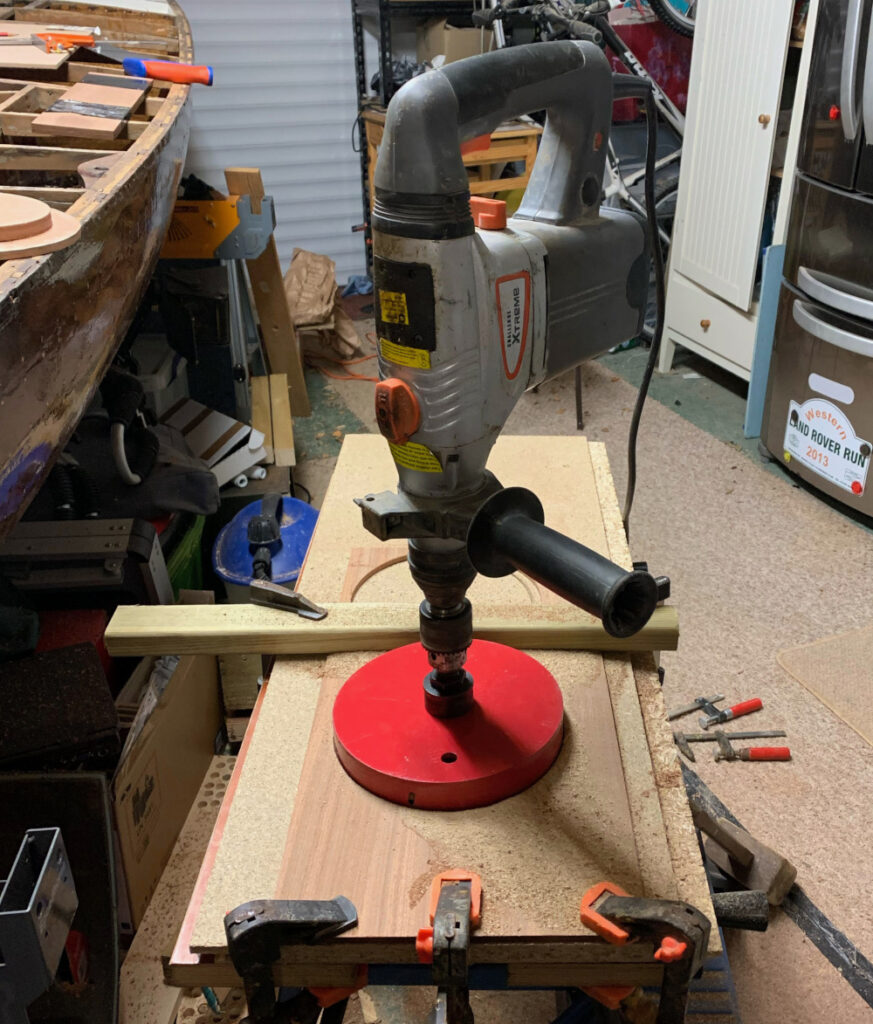
Once the 180mm deck ring blank was cut it was clamped in a workmate and the 140mm hole saw used to cut the inner hole to produce the deck ring.
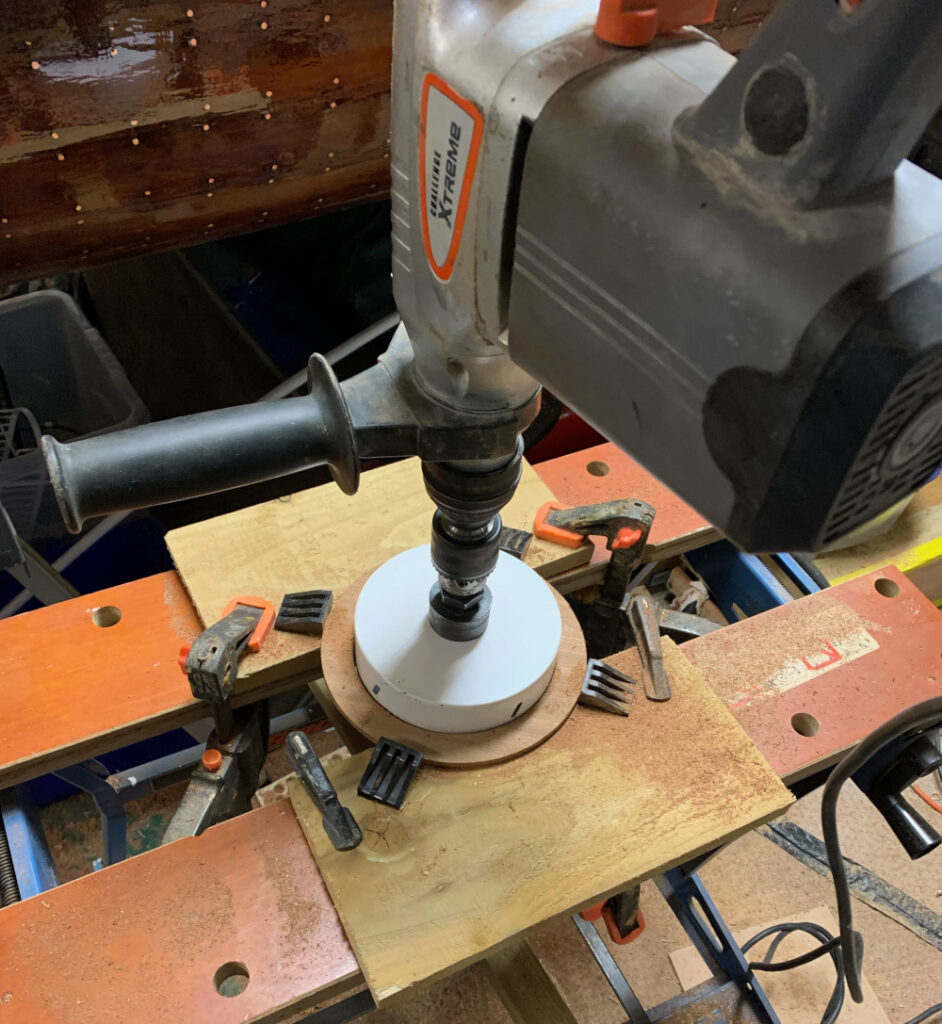
A couple of 140mm discs were then glued to the underside of the hatch cover and the deck ring screwed to the king plank.
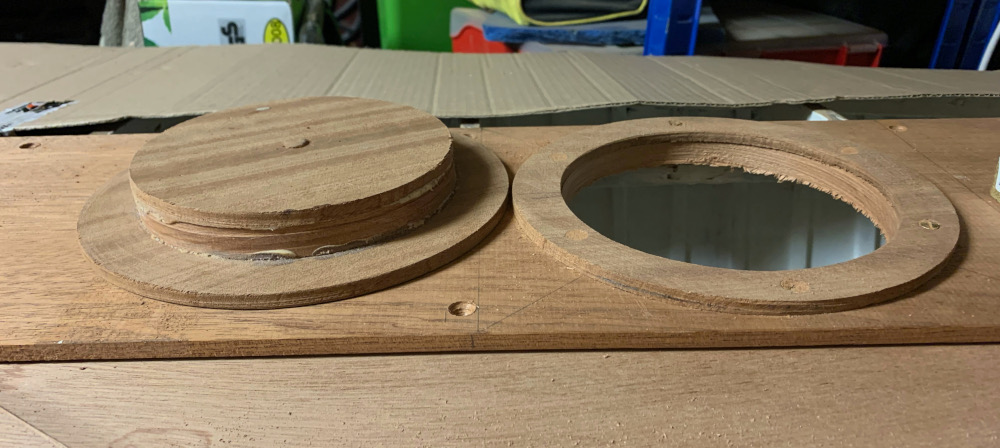
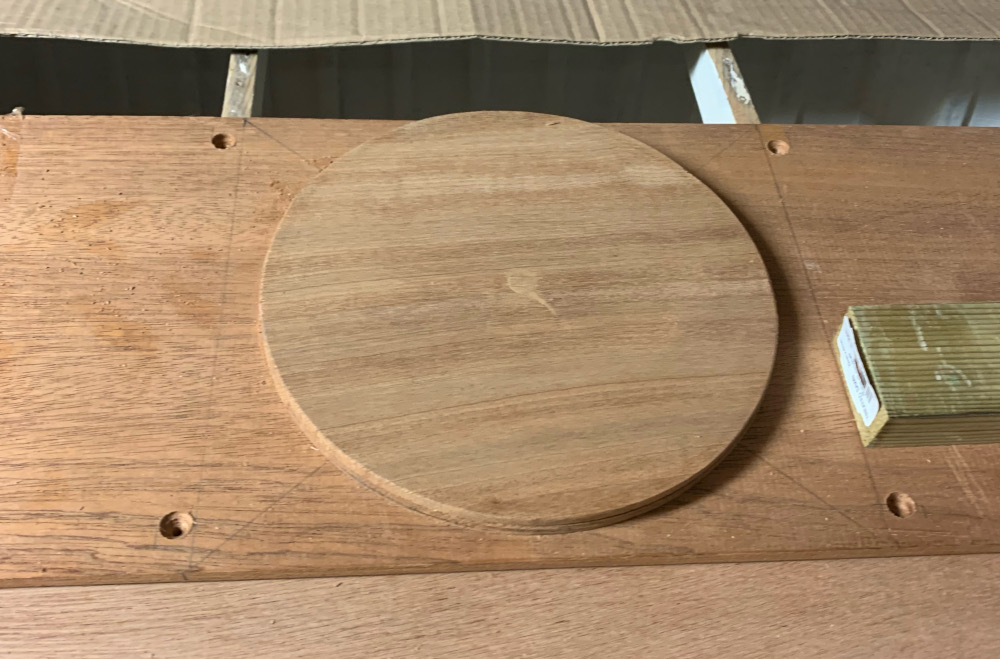
Once finished, the hatches will be held in place using a strong elastic bungee to the keel and I’ll make some neoprene gaskets to make the hatches water tight.
Forestay fitting
One of the trickiest problems to solve with the decking Zenith was to come up with an elegant solution to the forestay fitting. This bronze fitting is about 350mm back from the stem and is bolted through the hull at an angle and is supported between 2 frames,.
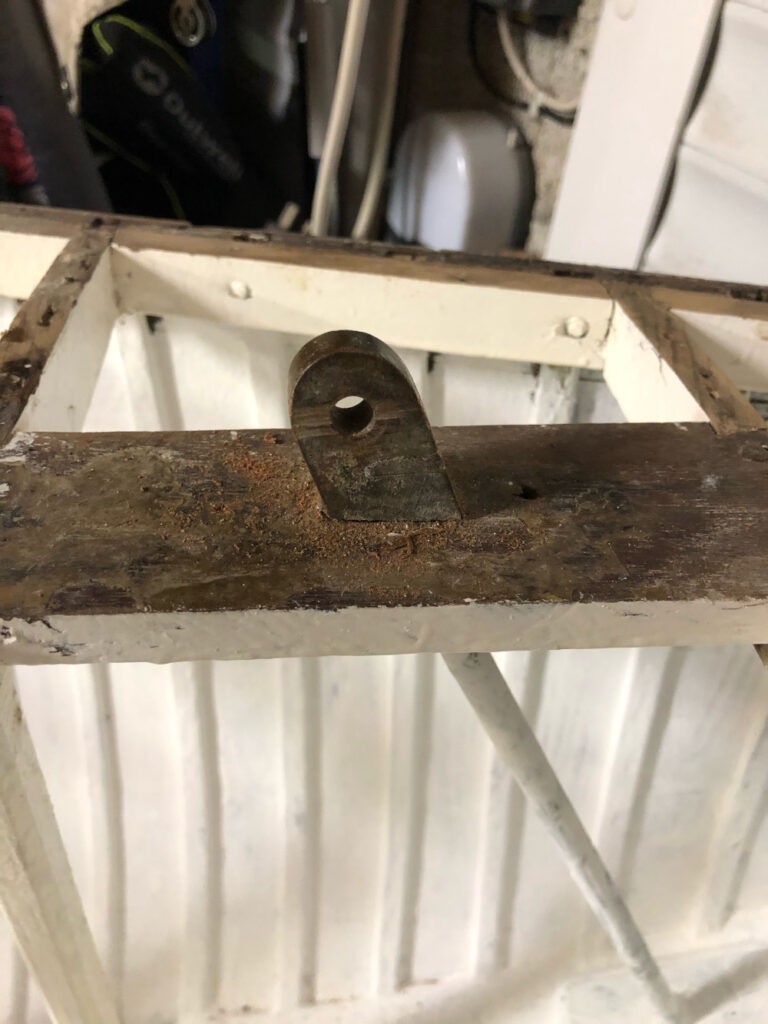
The forestay fitting is an irregular shape that slopes aft but the forward and aft slopes are different angles. The sides also taper inwards but the angle of taper is different on each side. The shape of the fitting means it was going to be nearly impossible to cut a correctly shaped hole in the king plank so that the fitting had close fitting timber on all sides.
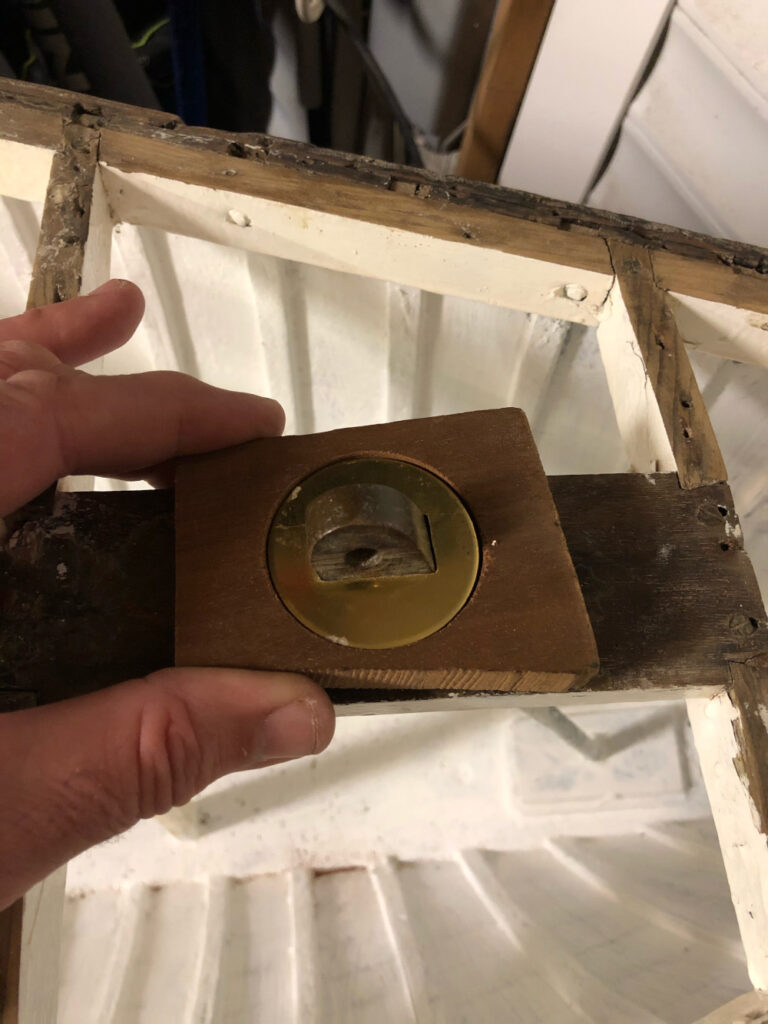
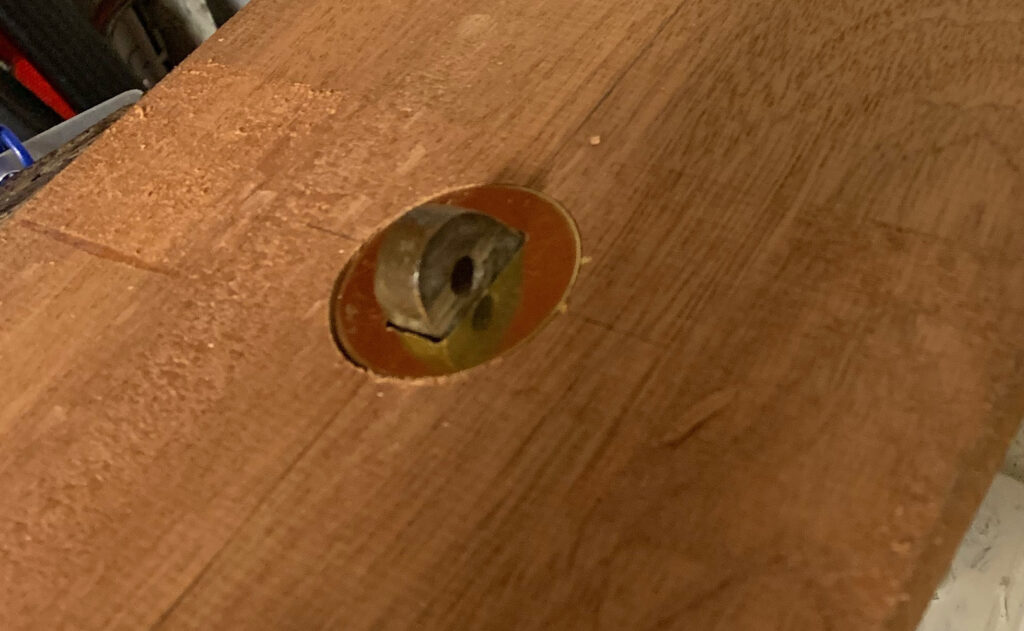
I realised that I could cut the irregular shape into a brass disc that surrounded the forestay fitting. It took several attempts to cut a suitable slot into a brass disc. This picture shows the completed brass disc fitted to a test piece.
A hole saw of the same diameter of the brass disc was used to make a circular cut of about 3mm deep. A smaller diameter hole saw was then used to cut the hole for the forestay fitting. A paring chisel was used to create the rebate for the disc to sit on.
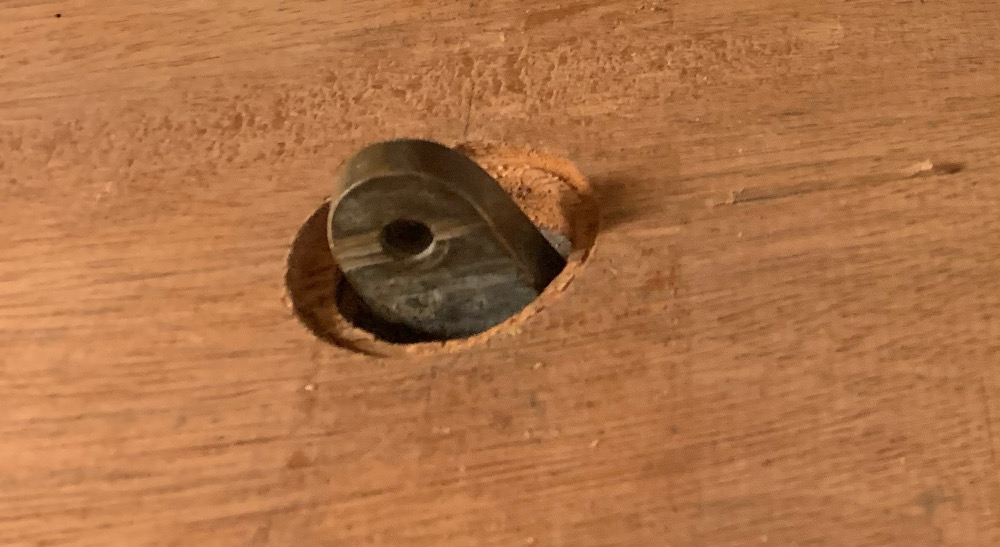
Once the disc is glued in place it will be at the same level as the king plank. There is enough clearance to shackle the forestay to the fitting.
…and finally the decking can begin
Sorting out the interior, rudder, centre plate and king planks have taken a long time. I knew that with the 200mm king plank I’d only need two sheets of plywood for the decking so made the decision to use Robbins Super Elite Plus plywood, I’ve used this before know it looks superb when varnished. There was a delay in placing the order for the plywood as I had to wait 5 weeks as it was on a container ship. I placed the order on a Monday and 4 days later a very large parcel arrived consisting of 2 x 2.5m x 1.2m sheets of plywood.
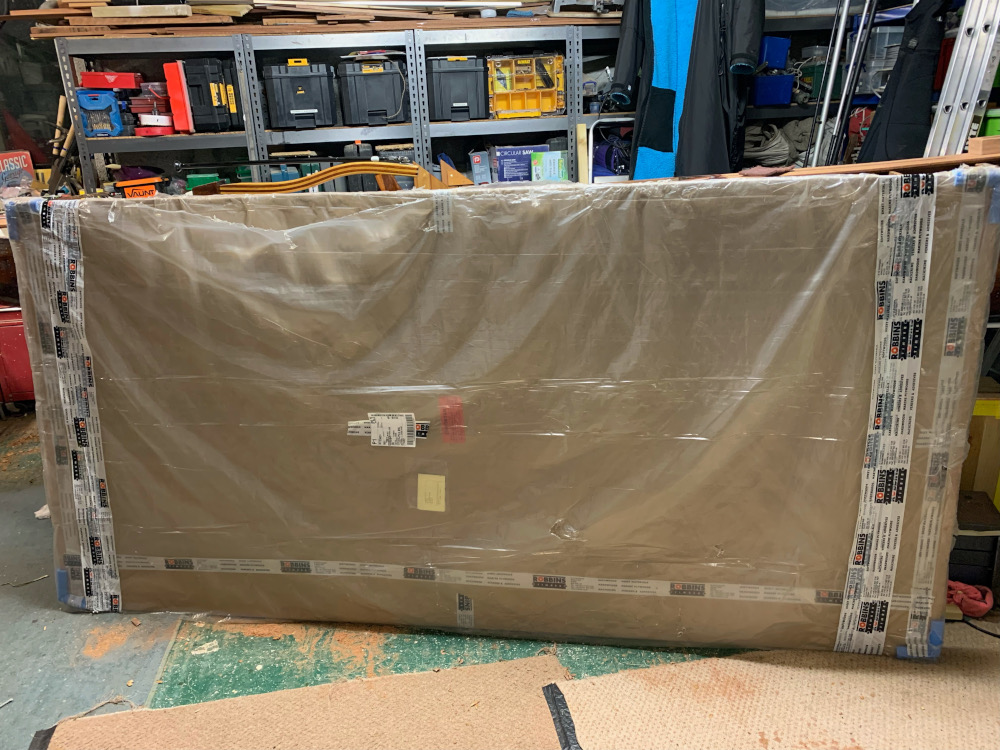
Usefully the plywood was wrapped in plastic and cardboard. The plywood was quickly taken outside and cut in half so I have 4 x 2.5m x 0.6m pieces. The cardboard packaging was put to good use to create templates for the deck pieces.
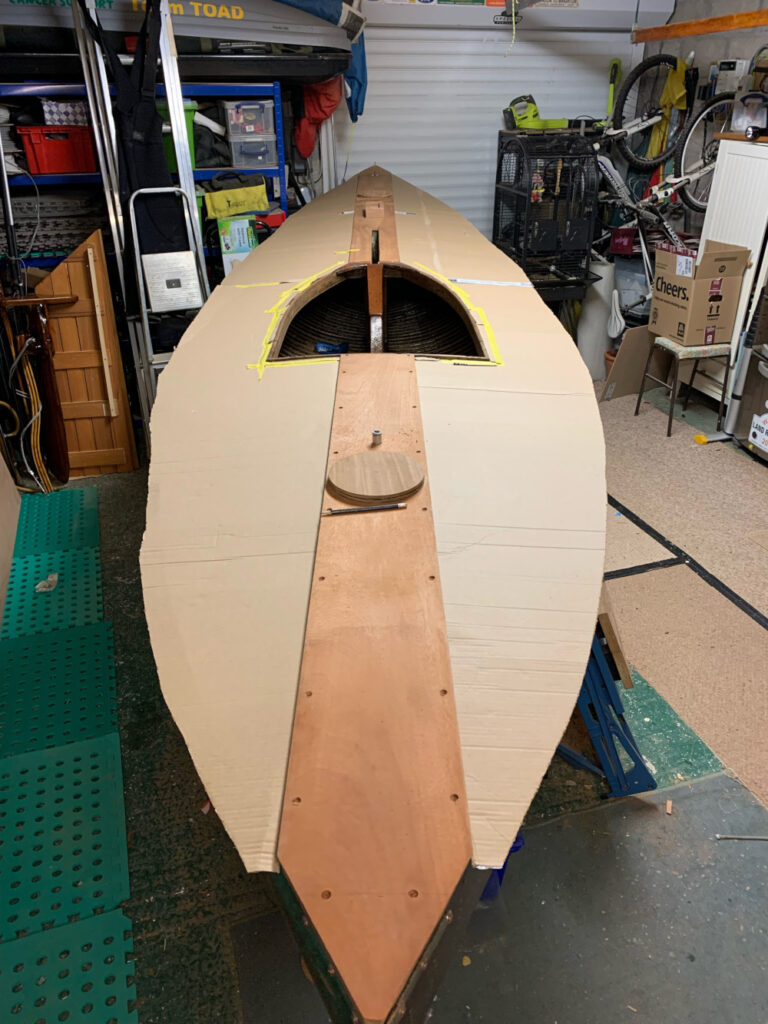
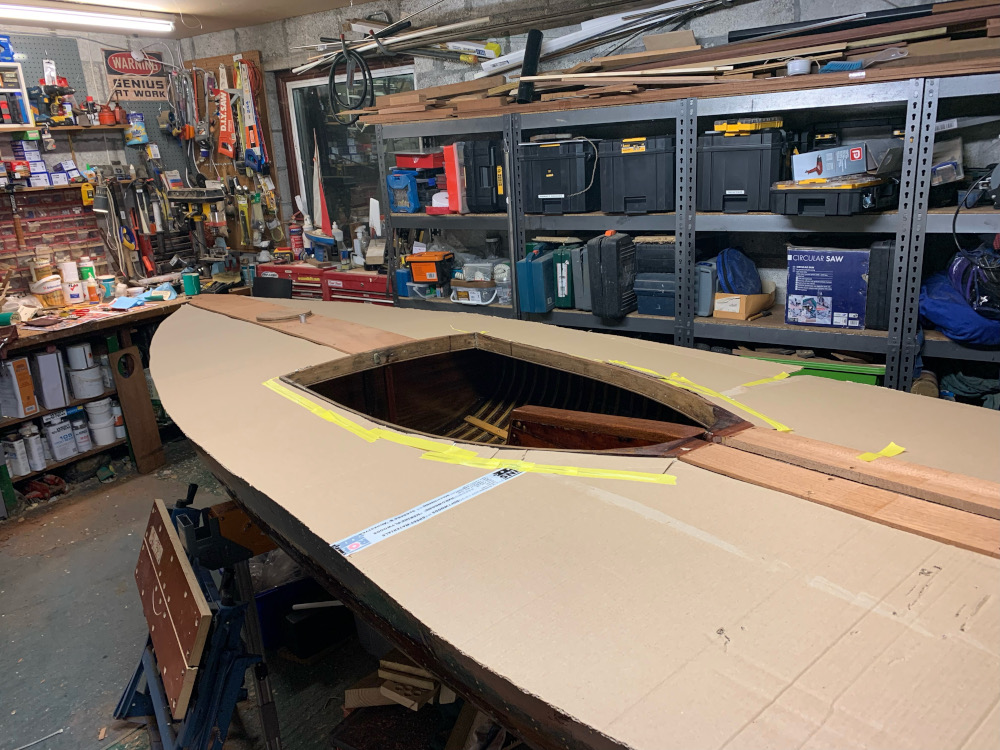
The next task was to lay the four pieces out to see the best pattern of grain, with two pieces being butted against each other on each side it would be nice to have similar grain. Having a large lounge helps as we were able to move each piece of plywood around to find the best grain pattern, and to mark out the rough shape to cut using the templates.
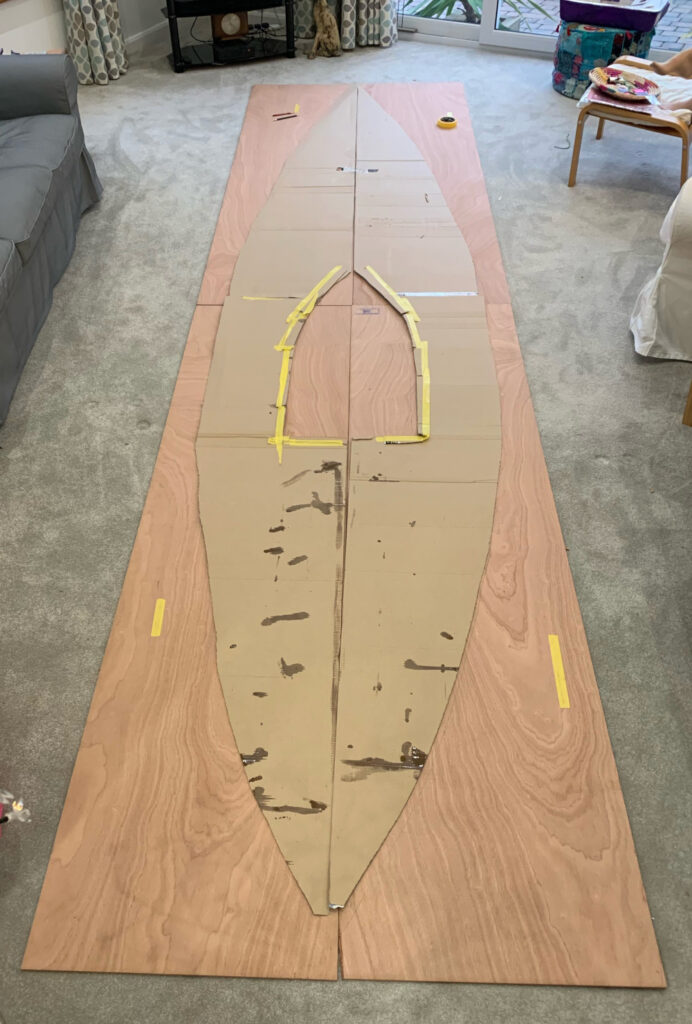
I should be kept busy for the next few weeks cutting the deck pieces to shape and finally get to fit the new deck.

Leave a Reply