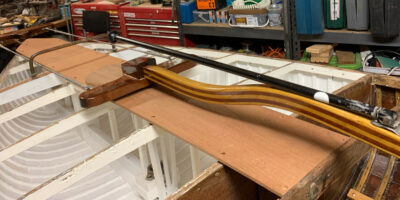
As mentioned earlier Zenith comes with an elderly rig (see http://www.pegasus18.com/zenith/2020/04/30/dusting-off-the-rig/). I’m sure this isn’t the original mast, but looking at the mast in only old pic I have of her, from 1953, it does appear to be the same, so the mast and boom are around 70 years old.
With the mast in the workshop this first thing to so was to strip all the fittings
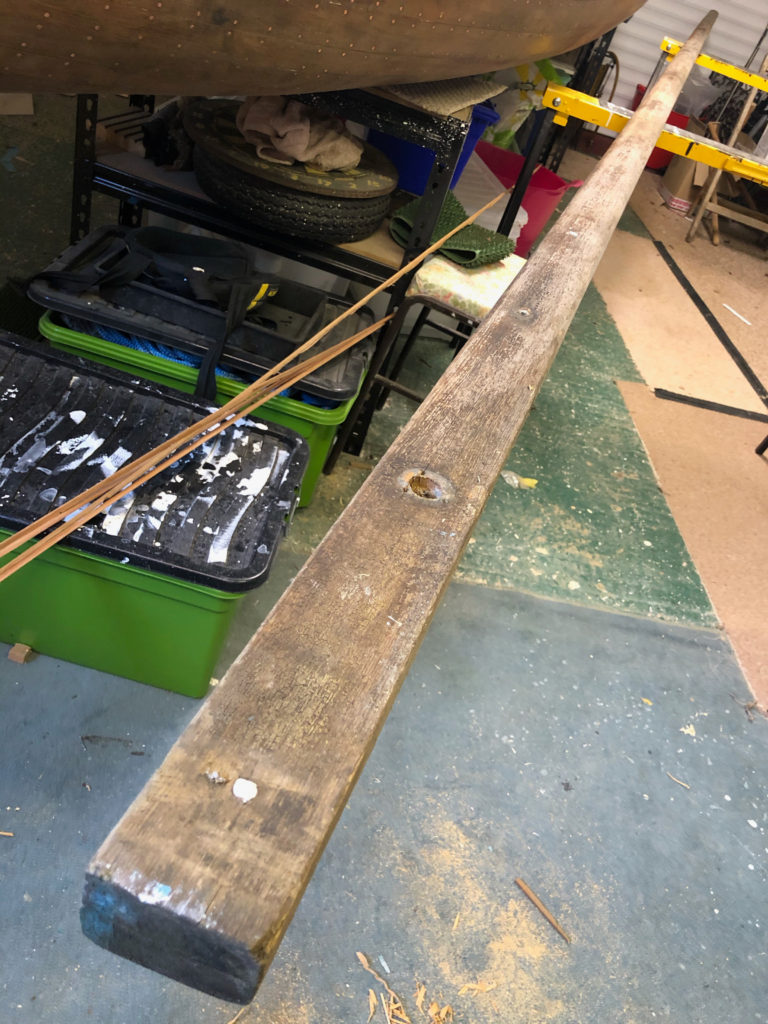
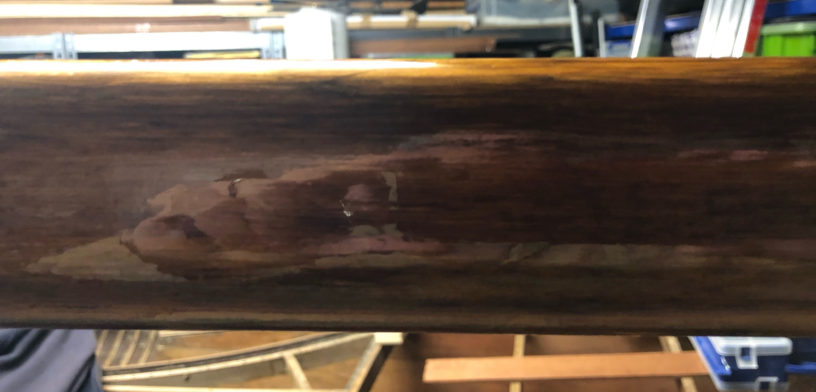
As can be seen, there’s not a lot of varnish left on a very grey mast. The white blob is some filler, probably lead. There were 7 of these in each side of the mast and with the filler removed it was obvious that the mast was screwed together as the heads of silicon bronze screw became visible. With the mast being over 70 years old the glues was bound to have failed.

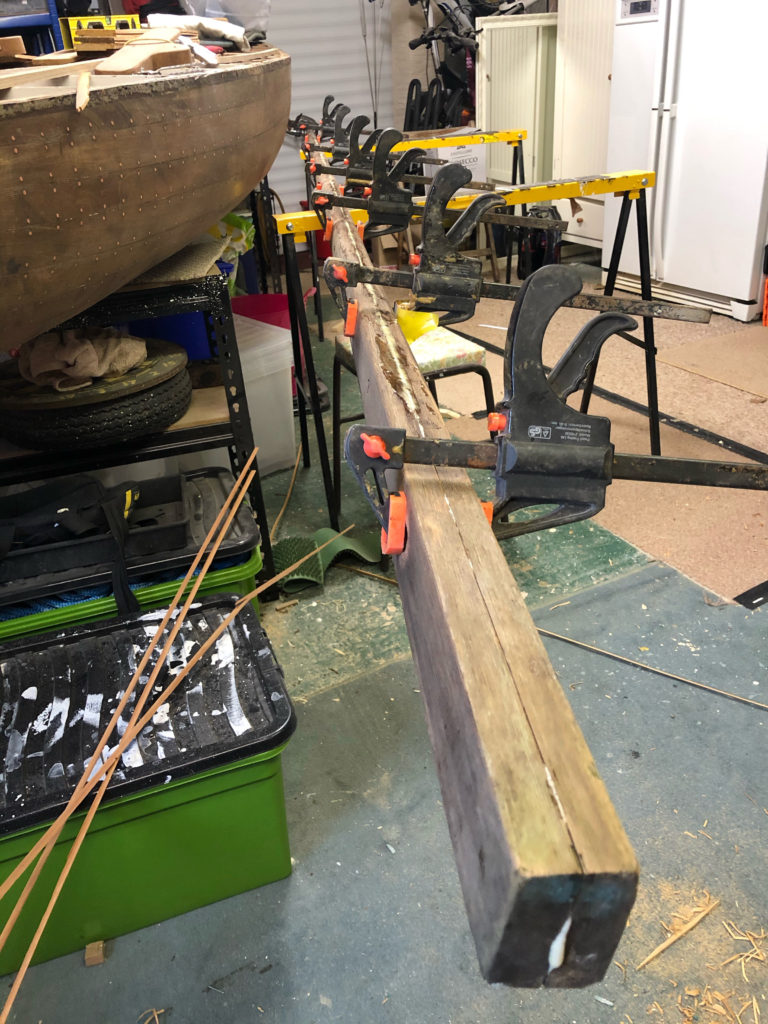
All the screws were in excellent condition, all came out without any problems, with no screws holding the two pieces together it became evident that the glue had indeed failed and there was no option but to split the mast and glue it back together.
After several mugs of tea and a few hours of looking at then problem there was nothing else left to do apart from making some softwood wedges and carefully inserting them into the glue line and giving them a gentle tap.
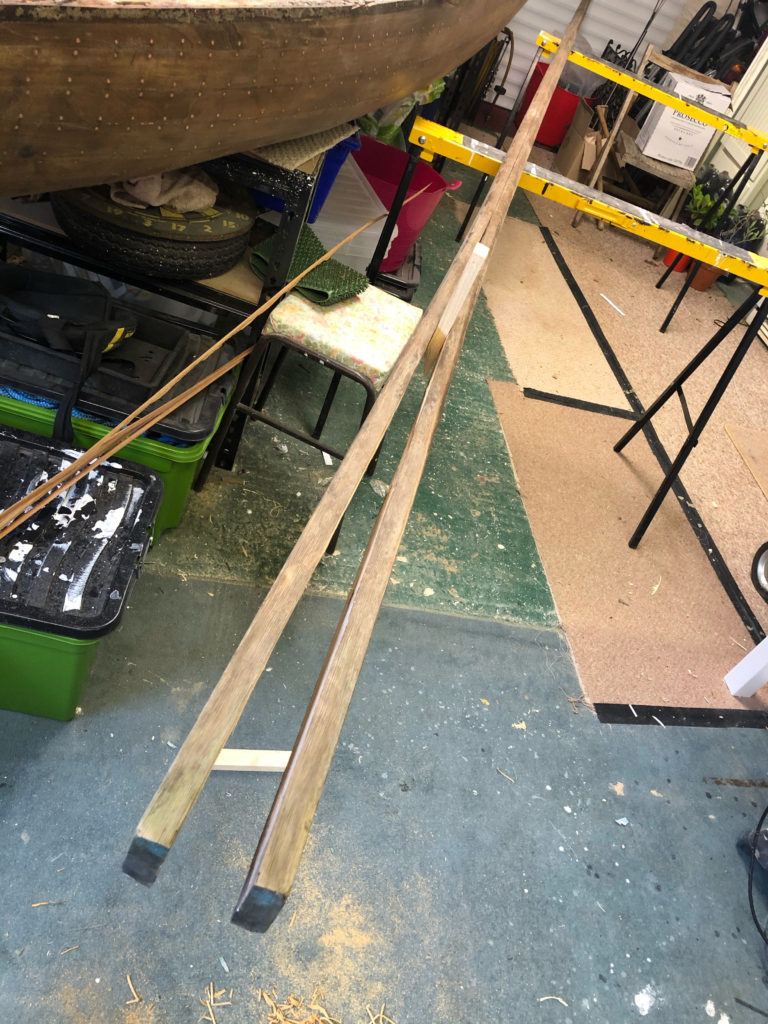
Three minutes later and the mast was in two pieces
About 95% of the glue had failed, there were a couple of areas about 3/4 up the mast that needed some persuasion.
Now that the mast was in two pieces all that was needed to do was to clean up the glueing surfaces and glue and screw the two halves back together.
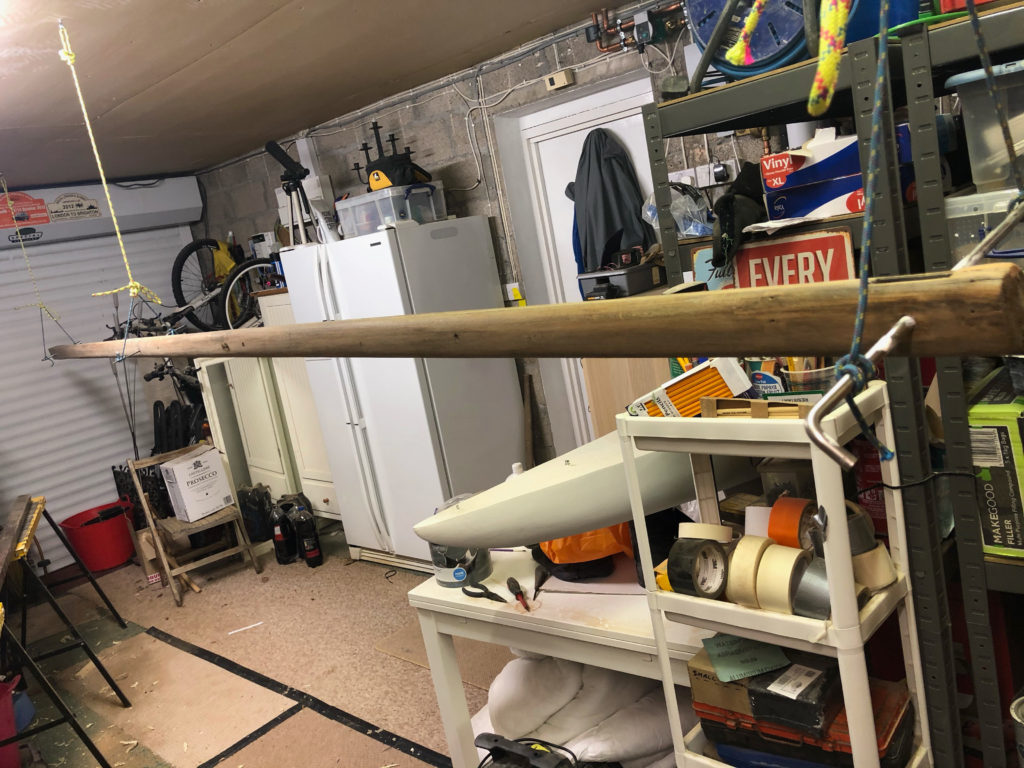
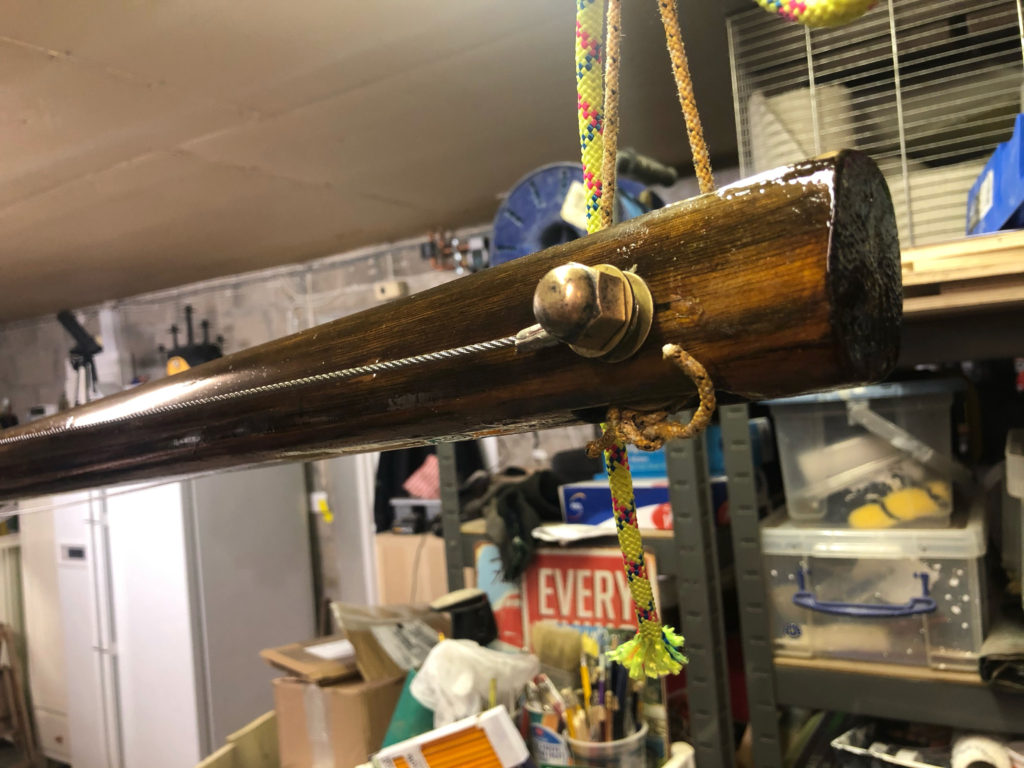
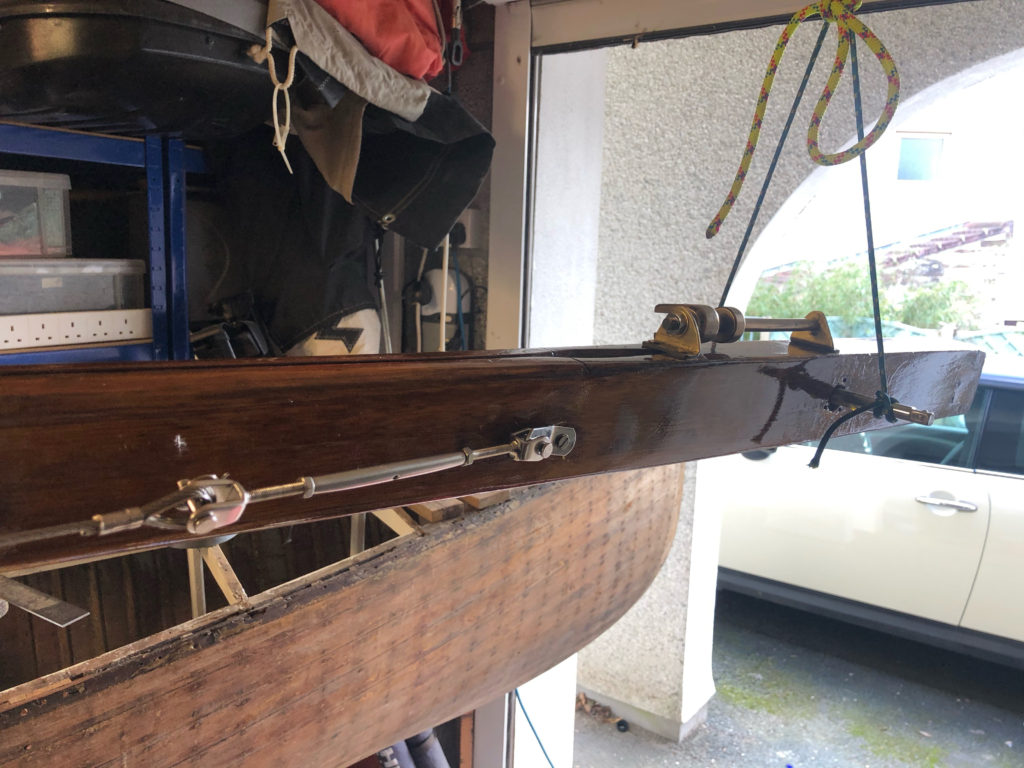
Once the glue had cured and the excess cleaned off the mast was suspended from the ceiling at a comfortable height for working on.
The first task was to sand the mast back.
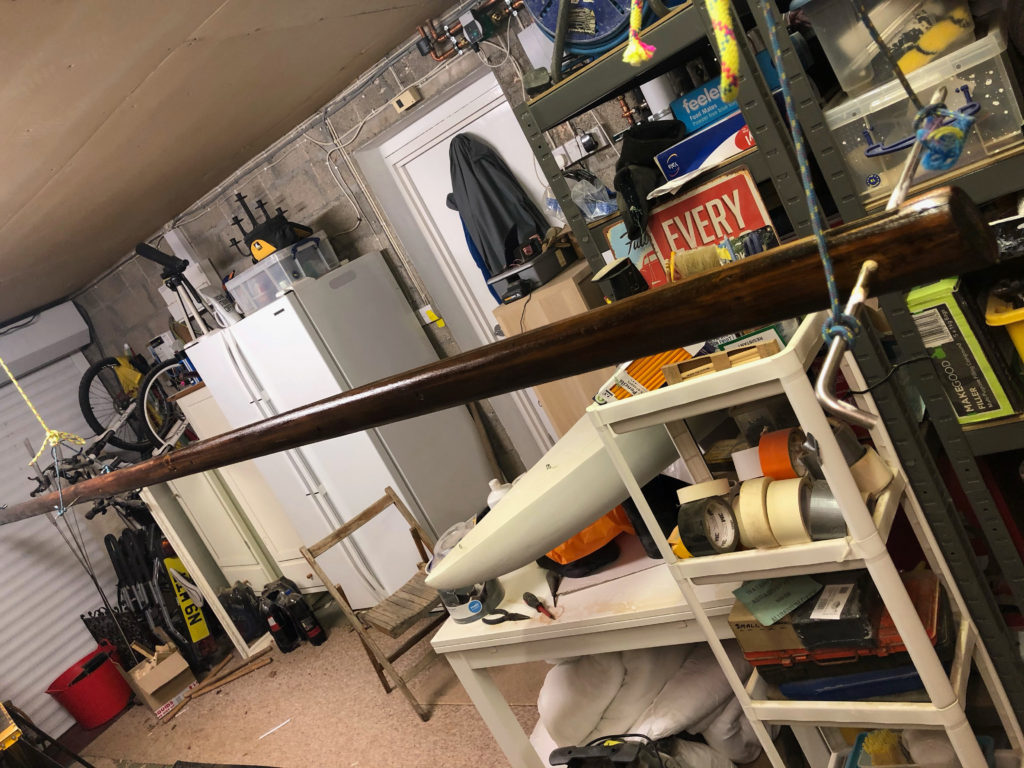
The fun part could now start. I’m using International Schooner Tung Oil Gloss Yacht Varnish so the first three coats were heavily thinned (75%, 50% then 25% thinner) followed by a couple of full coats. This was enough to raise the grain, so when the fifth coat has cured the varnish was flattened back.
Another three coats were added before flattening back again, and then a further three coats were applied.
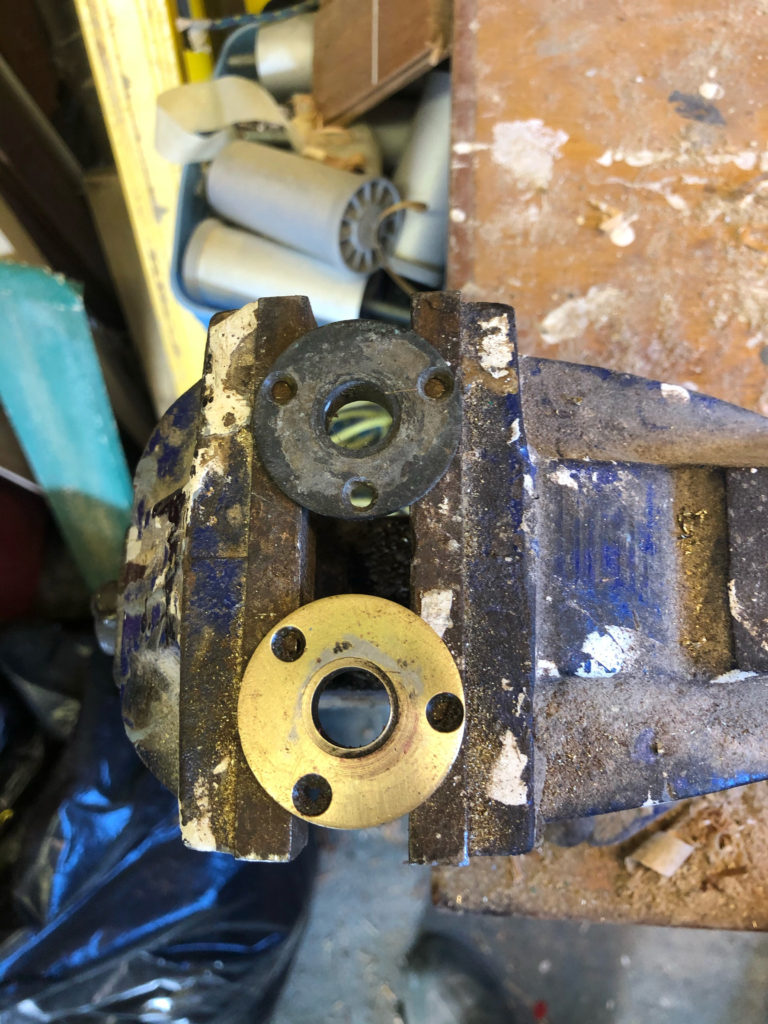
In between applying the varnish I spent about 8 hours cleaning up all the brass and gunmetal fittings as I wanted to use as much of the original hardware as possible. I forgot take many pictures of the before and after for the fittings. This is the set of brass spreaders for the diamonds

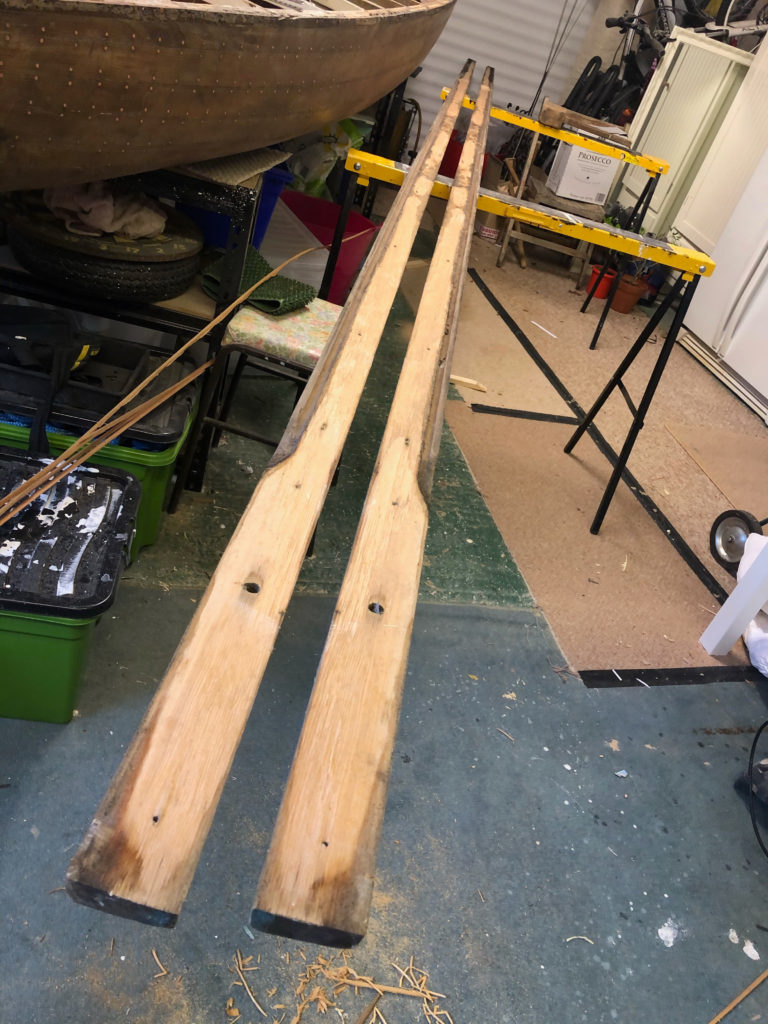
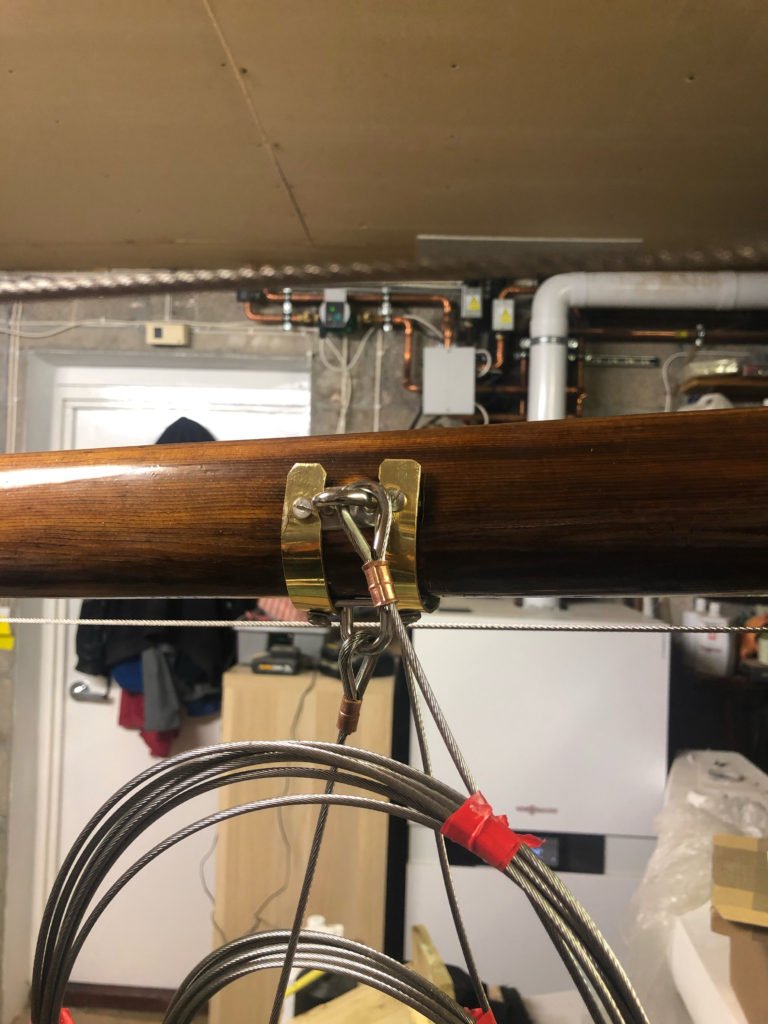
The mast is simply rigged. There’s a set of diamonds, a forestay and a pair of shrouds. The shrouds do not have a set of spreaders. The original rigging was galvanised wire with bent and broken galvanised rigging screws. All the rigging has been replaced with stainless steel wire with eyes made using an Ormiston wire tool and stainless steel thimbles. The diamonds have stainles steel rigging screws to control the tension.
I’ve left the shrouds and forestay over length as I’ll let them to the correct length when I get the mast raised.
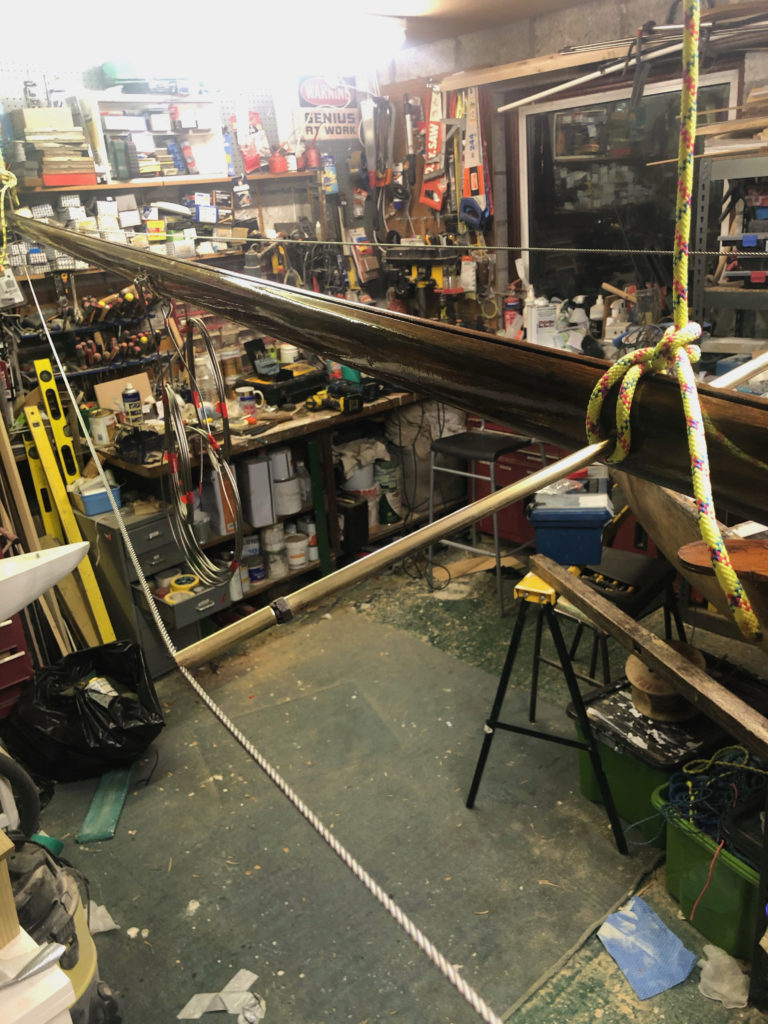
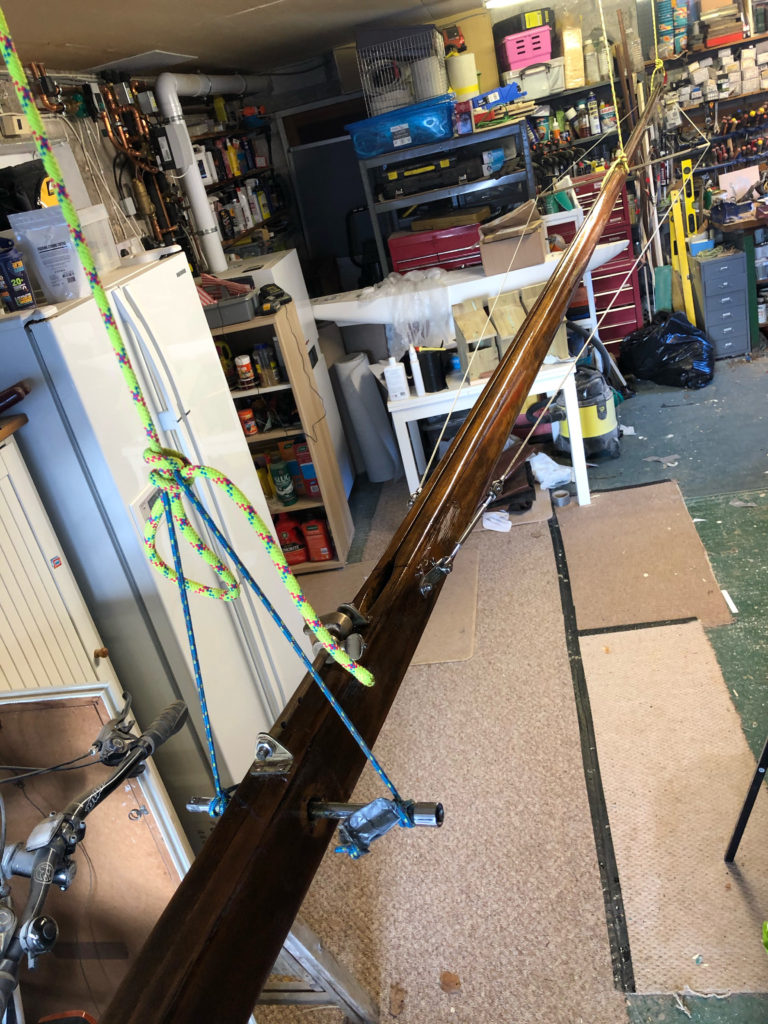
The mast is now safely in the workshop roof while work progresses.
Leave a Reply