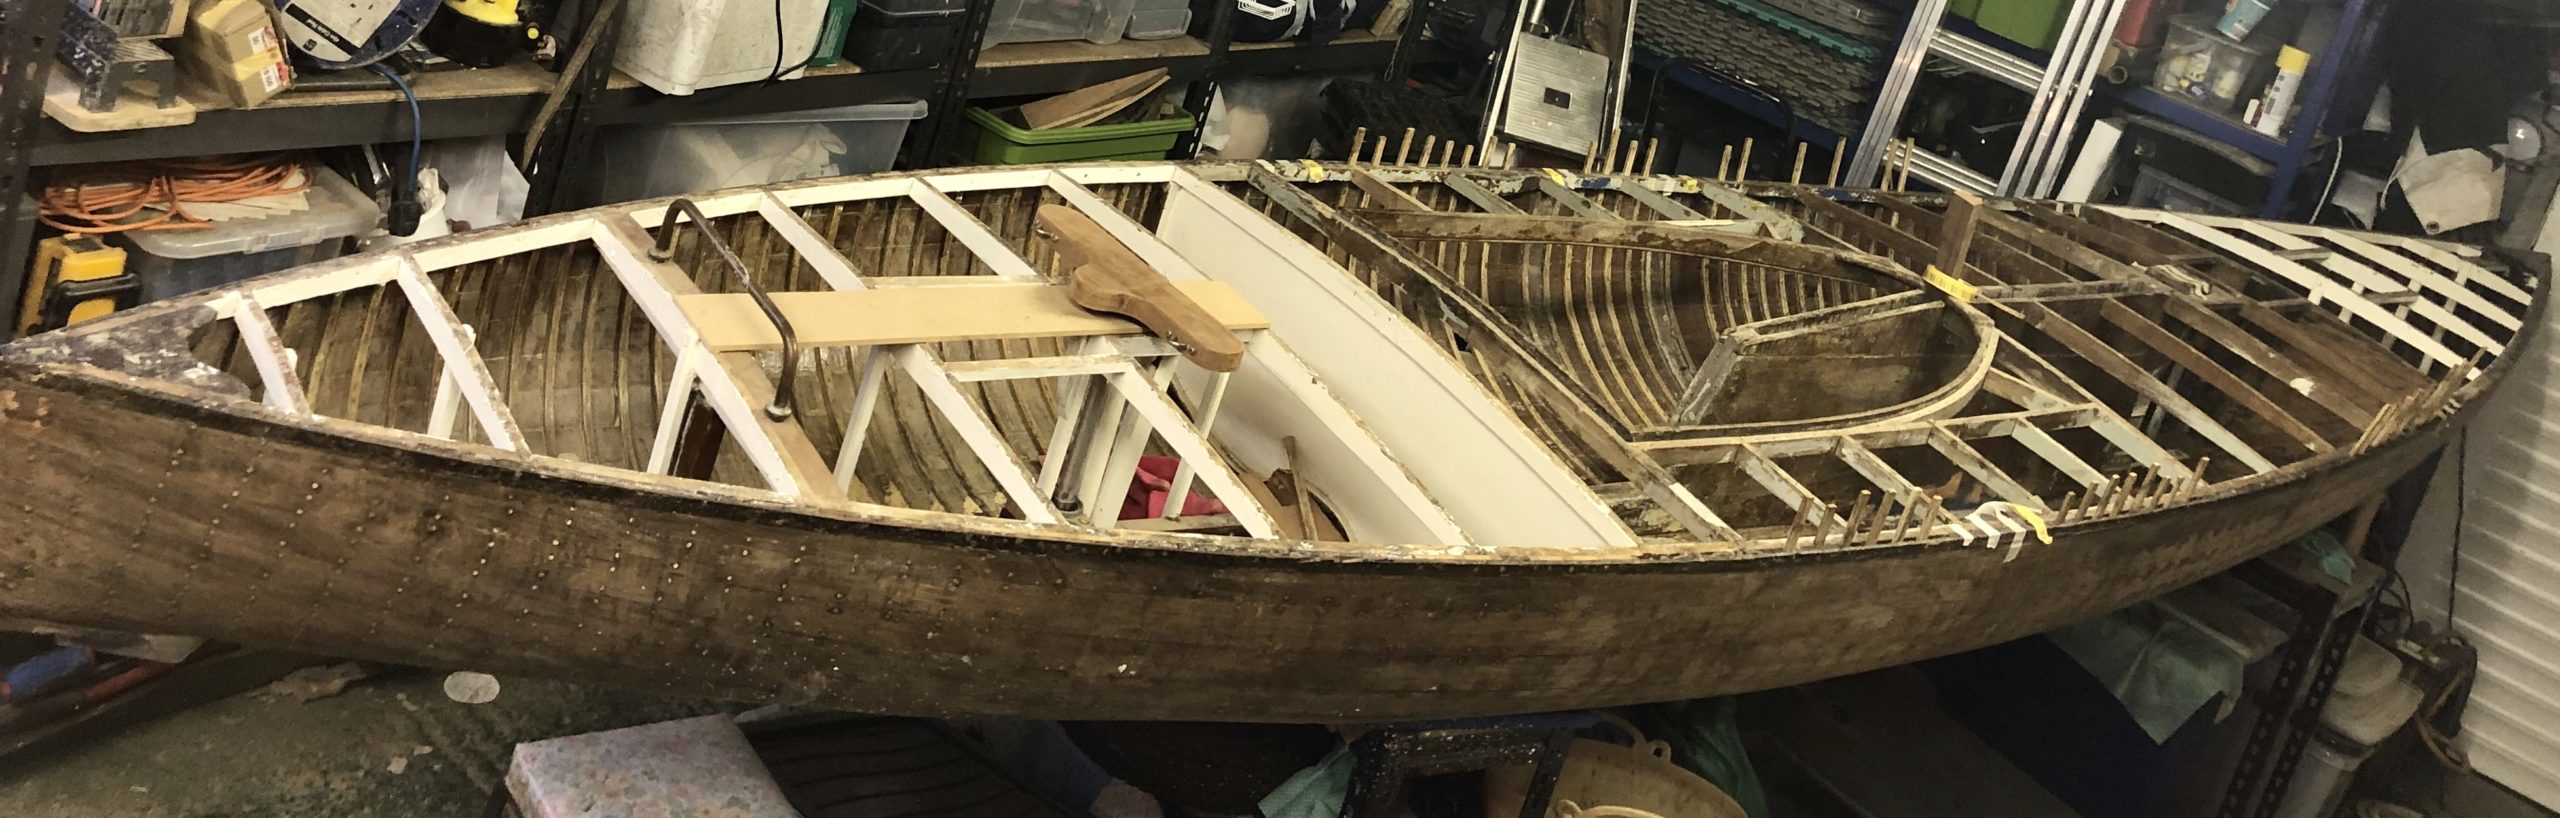
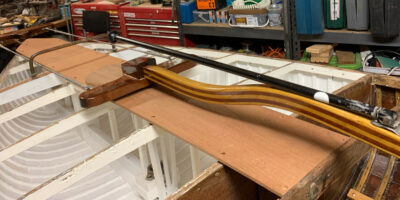
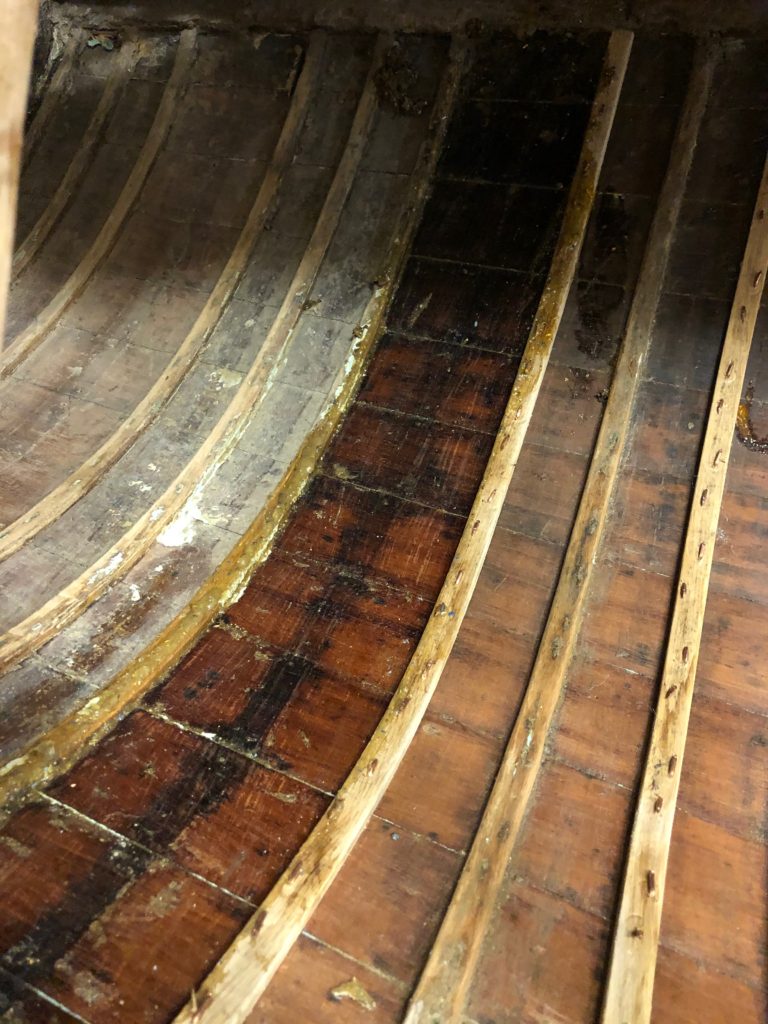
With over 90 ribs to replace I soon developed a routine for removing a rib and fitting a new one.
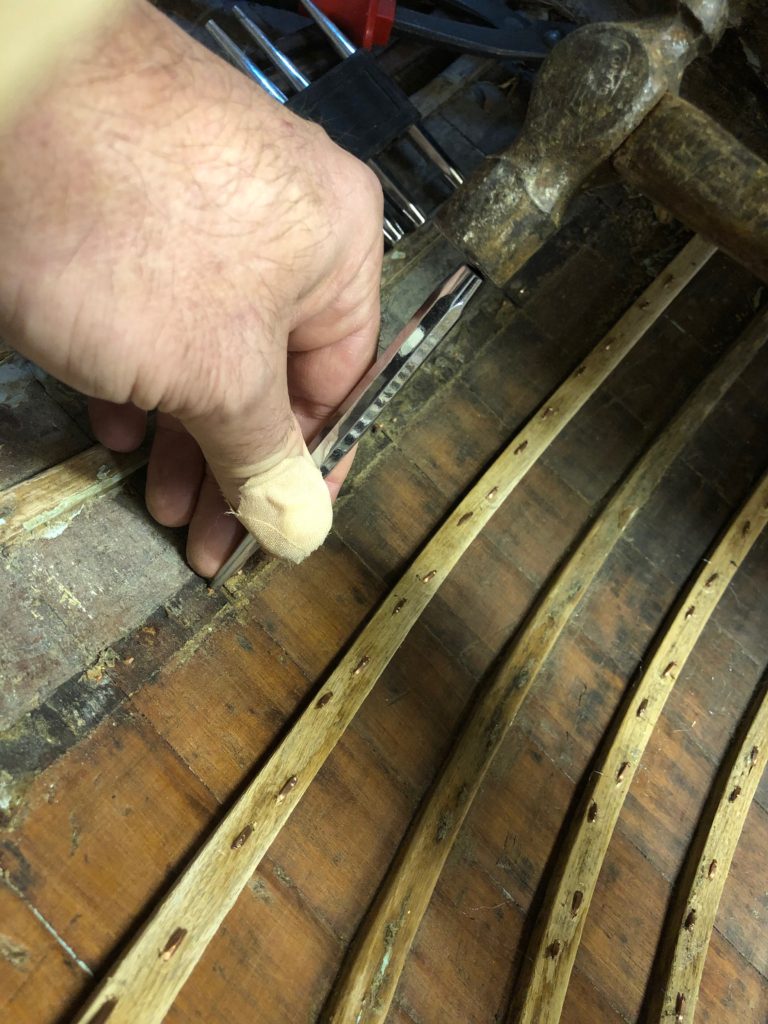
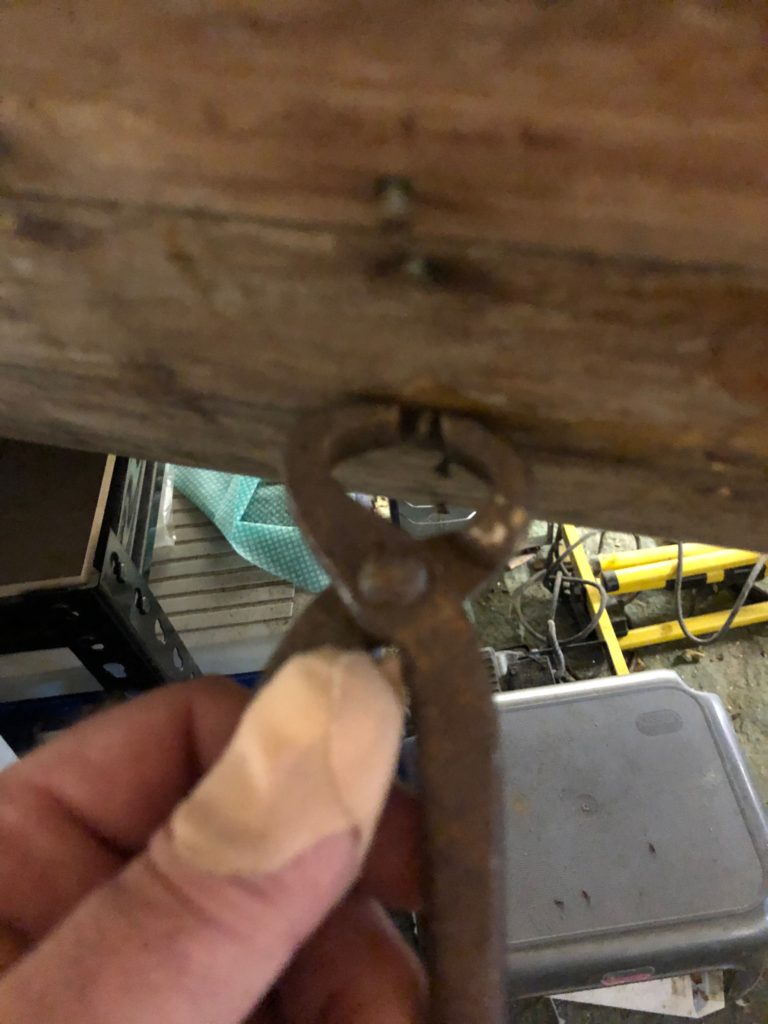
The tools needed to remove a rib are pretty simple, a hammer, some punches and a couple of pairs of pincers.
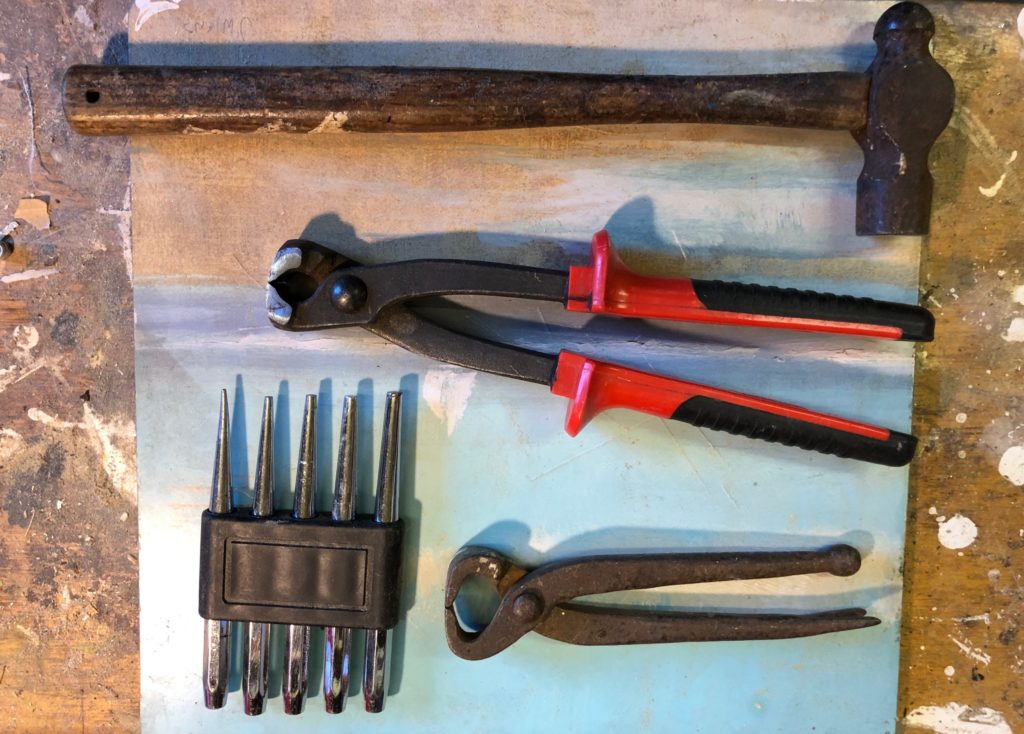
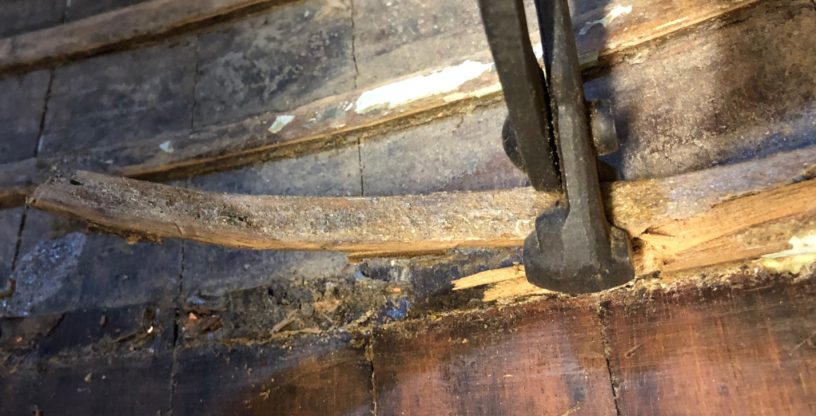
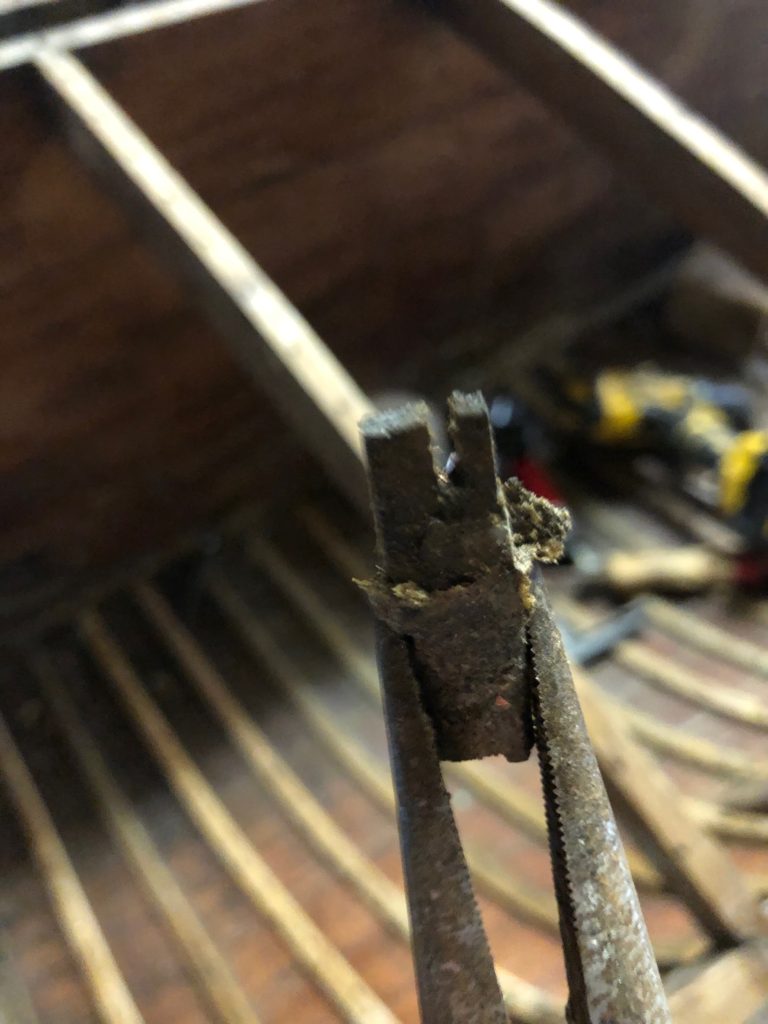
The large pincers are used to crush the old rib. There are 26 nails used to fix the rib, basically the nails are hammered through the plank and rib, then the end of the nail has been bent over. The key to removal is to crush the rib and snap the old nails at the same time

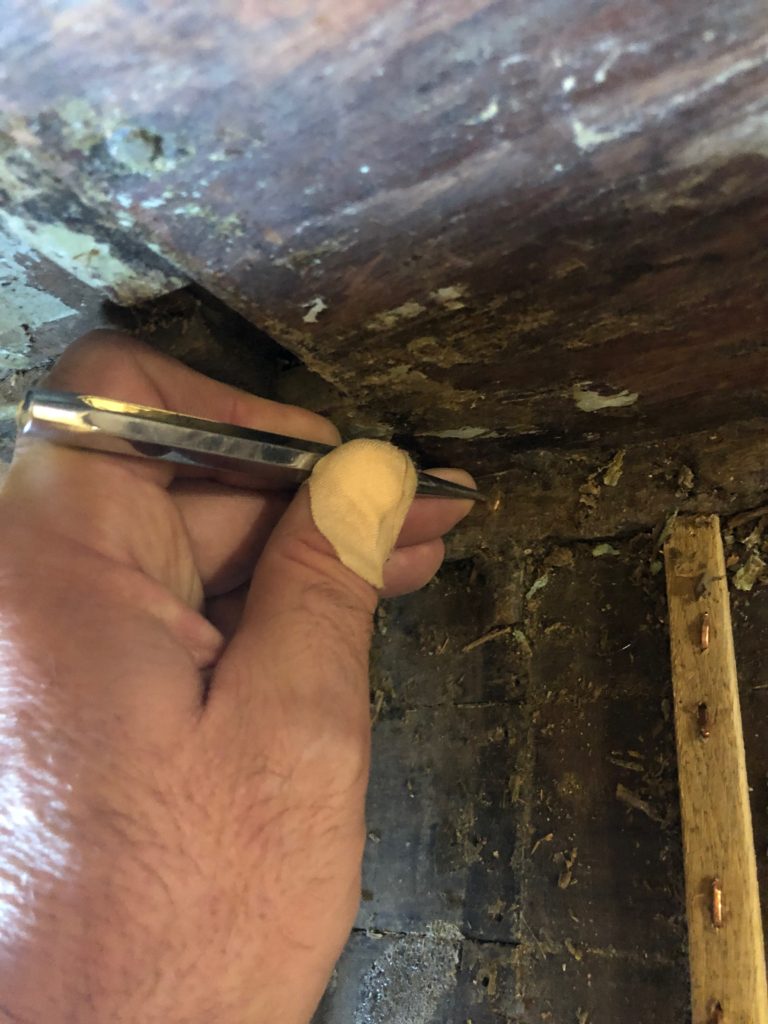
The nail should be cut reasonably flush to the inside of the plank
If I do end up with an old nail still bent it will have to be cut flush with the planking
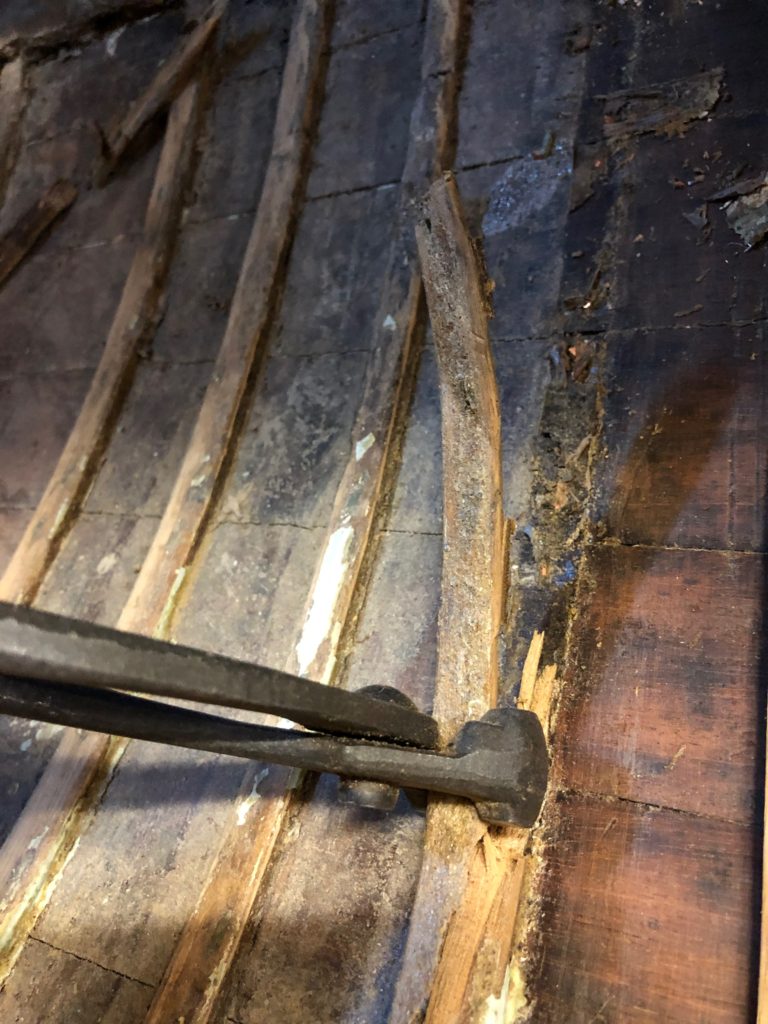
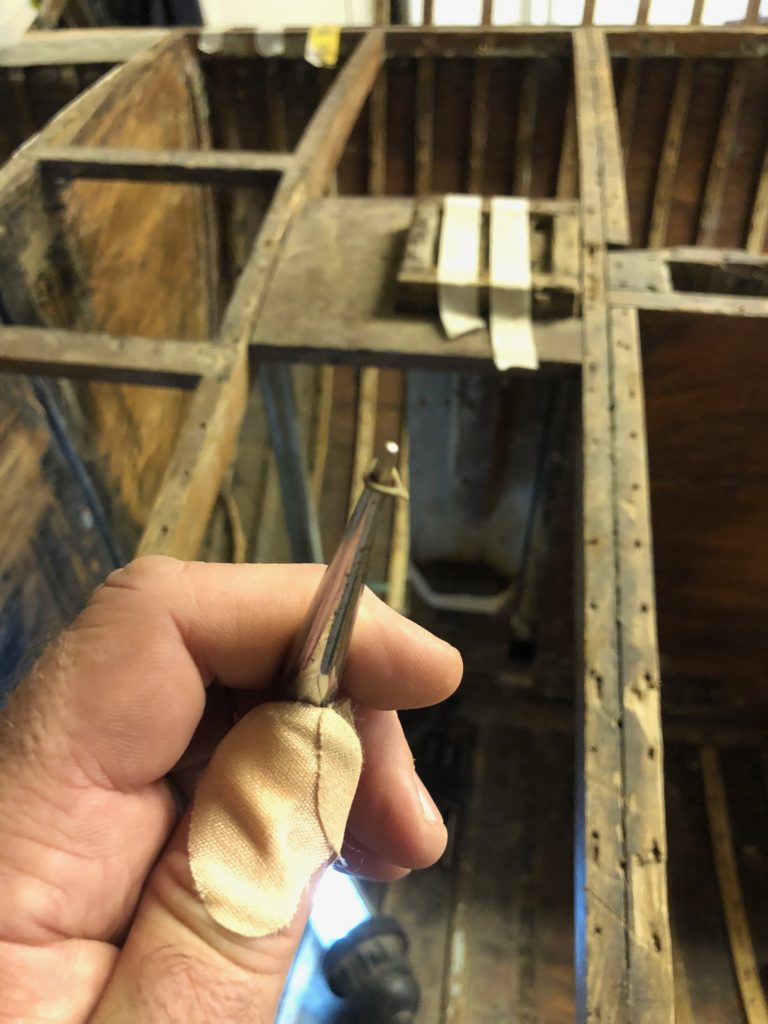
With all the nails cut it is time to knock the heads through the plank.
A couple of taps on the centre punch is usually enough
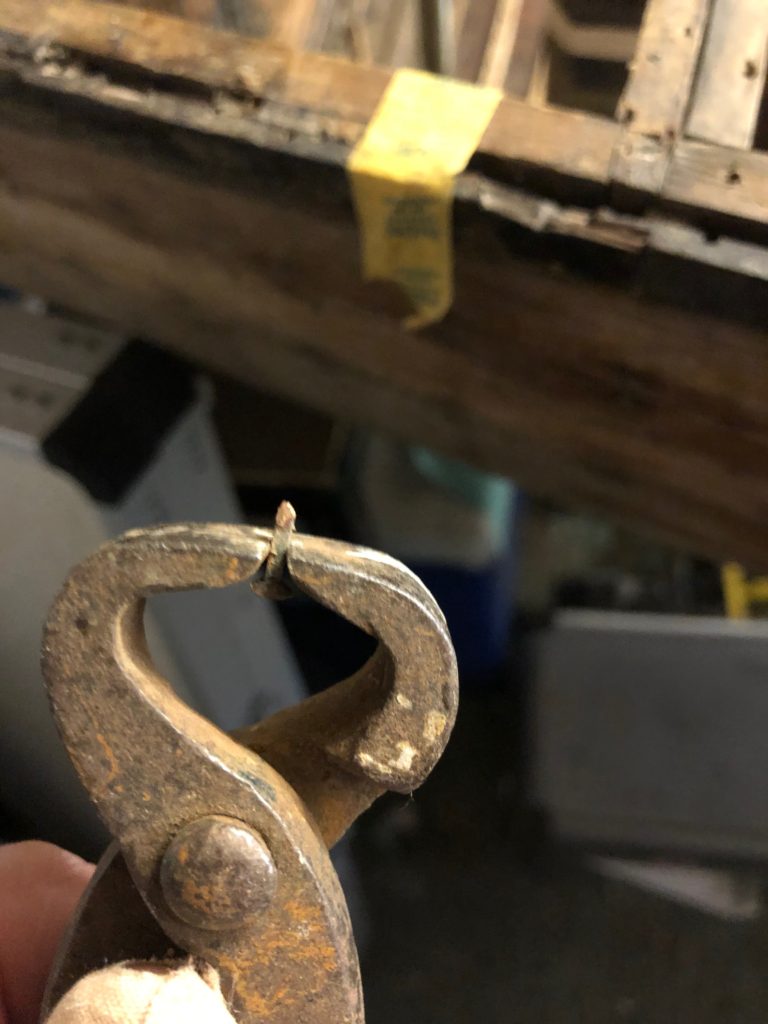
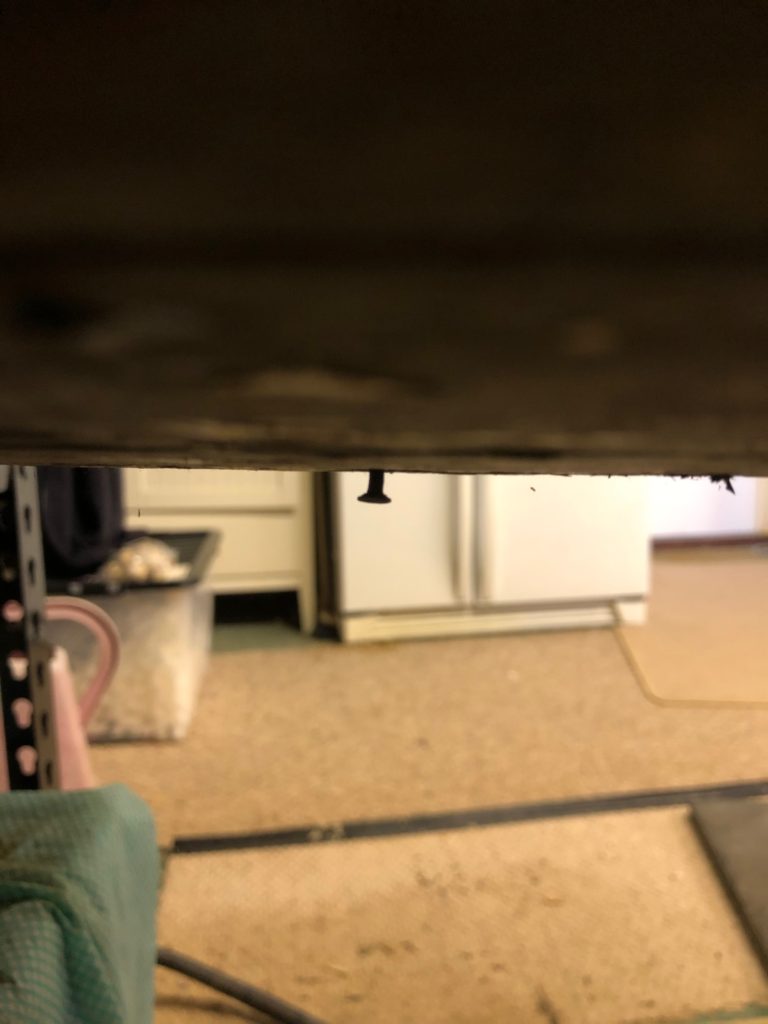
Then all the nail heads are ready to be carefully removed

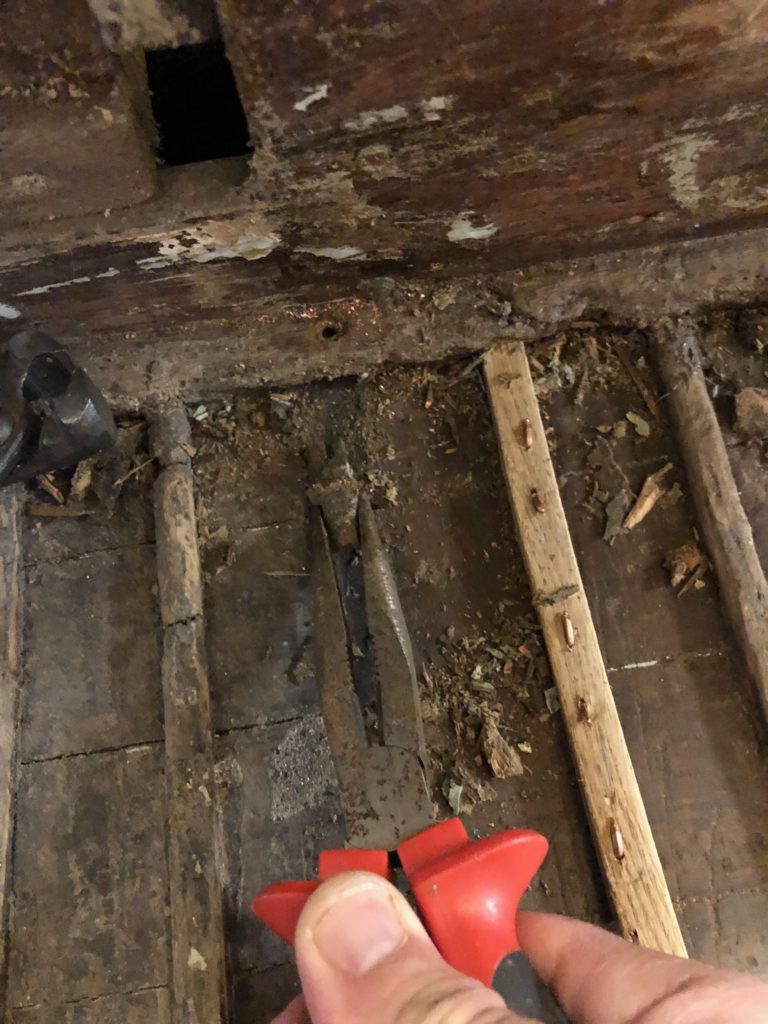
An old set on pincers is ideal, these a blunt so they won’t cut the nail. These pincers fit flush to the hull and there doesn’t need to be much of the nail showing in order for the pincers to grip on to it.
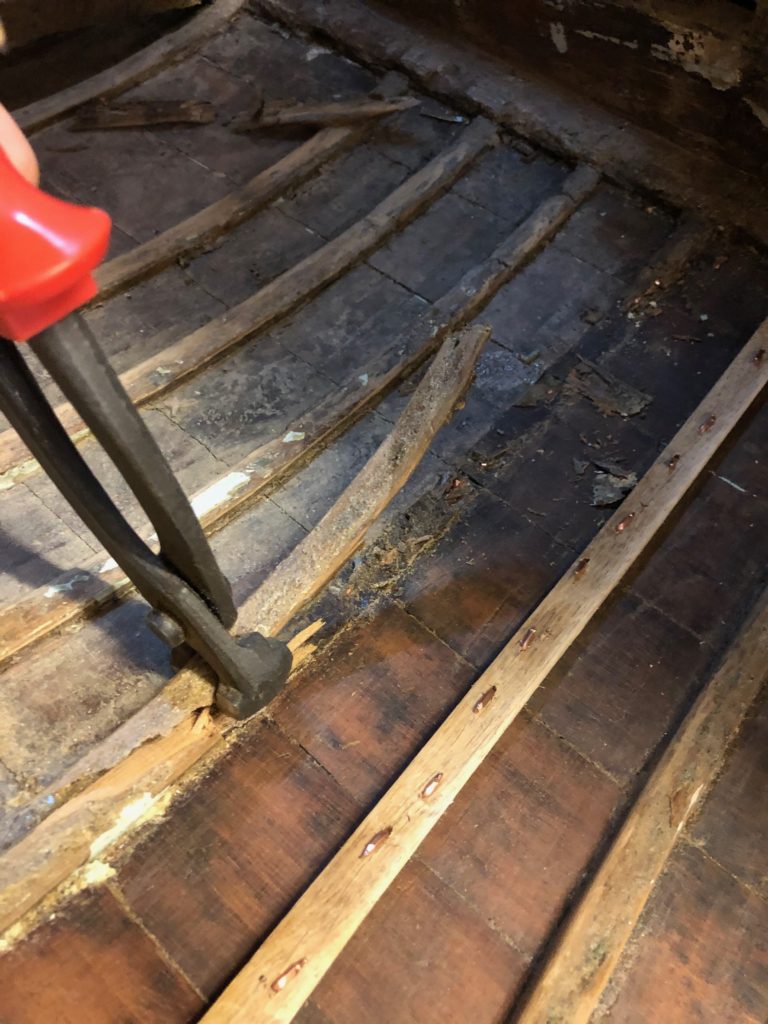
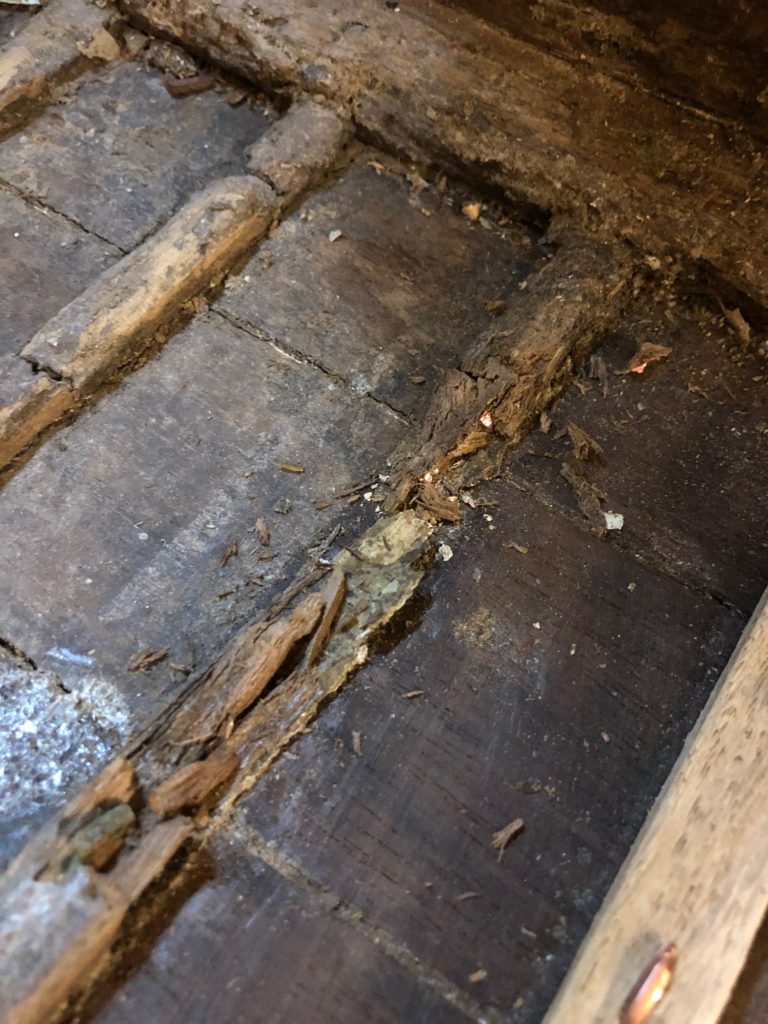
With the nails removed there’s one last part of the rib to get out. The ribs are rebated into the keel. When I take the ribs out I leave a small piece near the keel. Unlike all the other nails, the fixing on the rib end through the keel has a rove on it.
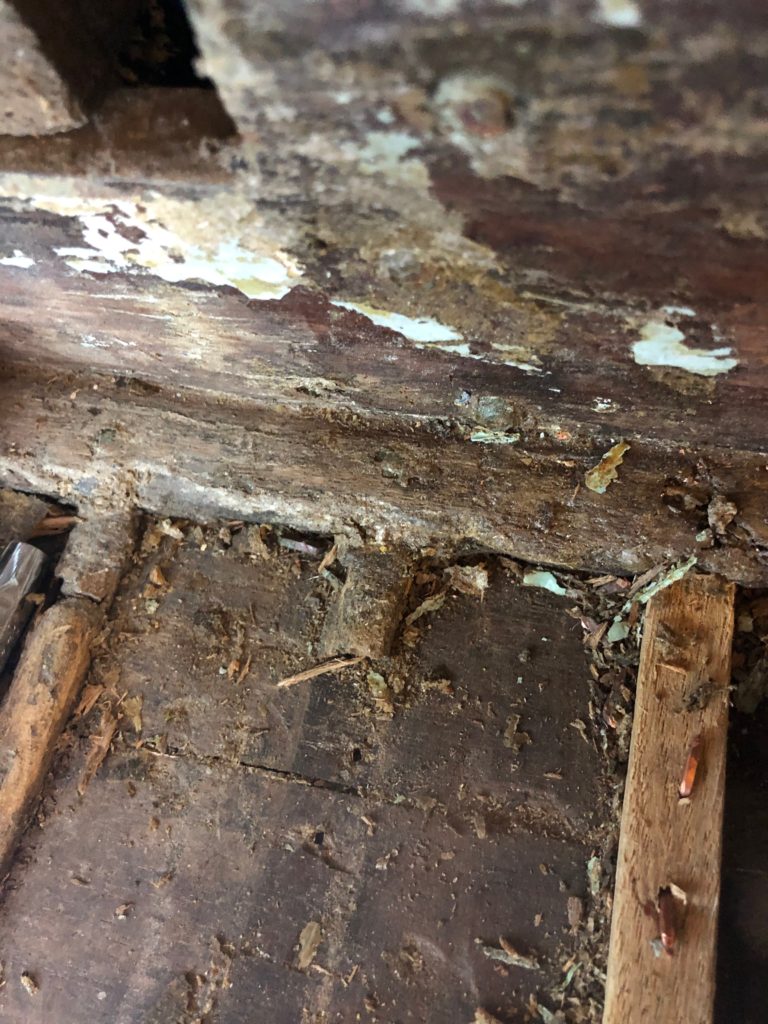
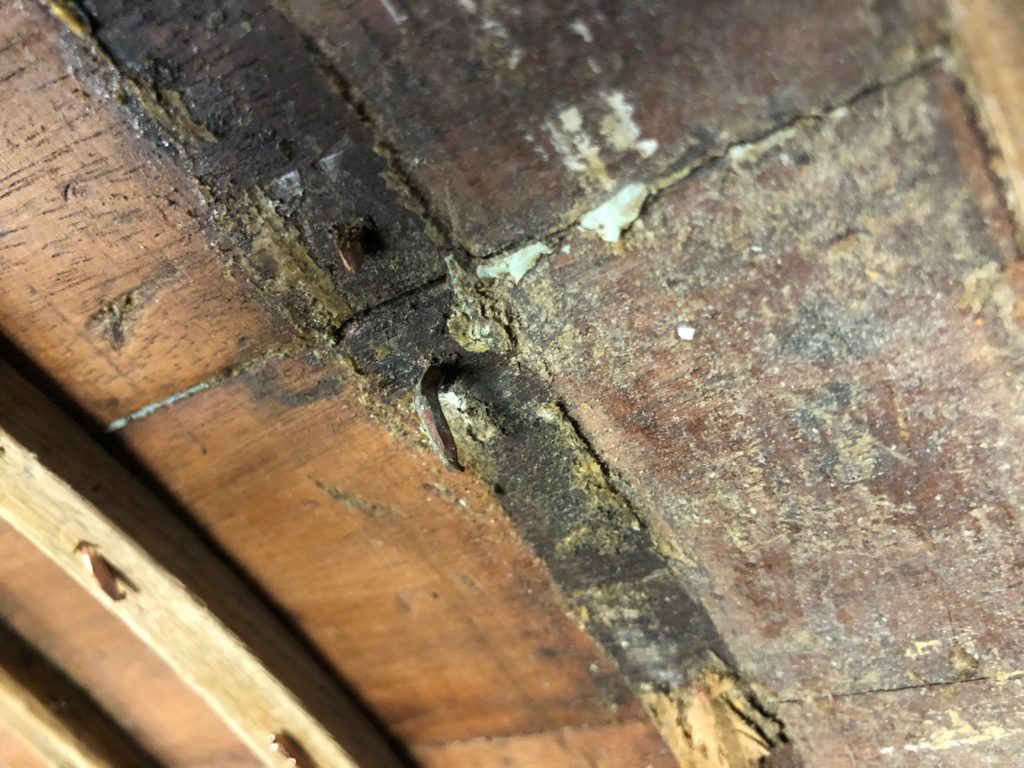
To get this one out requires finding the rove, a quick scrape exposes the copper rove.
This needs to be drilled out, a centre punch helps to make an indentation to stop the drill bit from slipping
It can then be drilled out

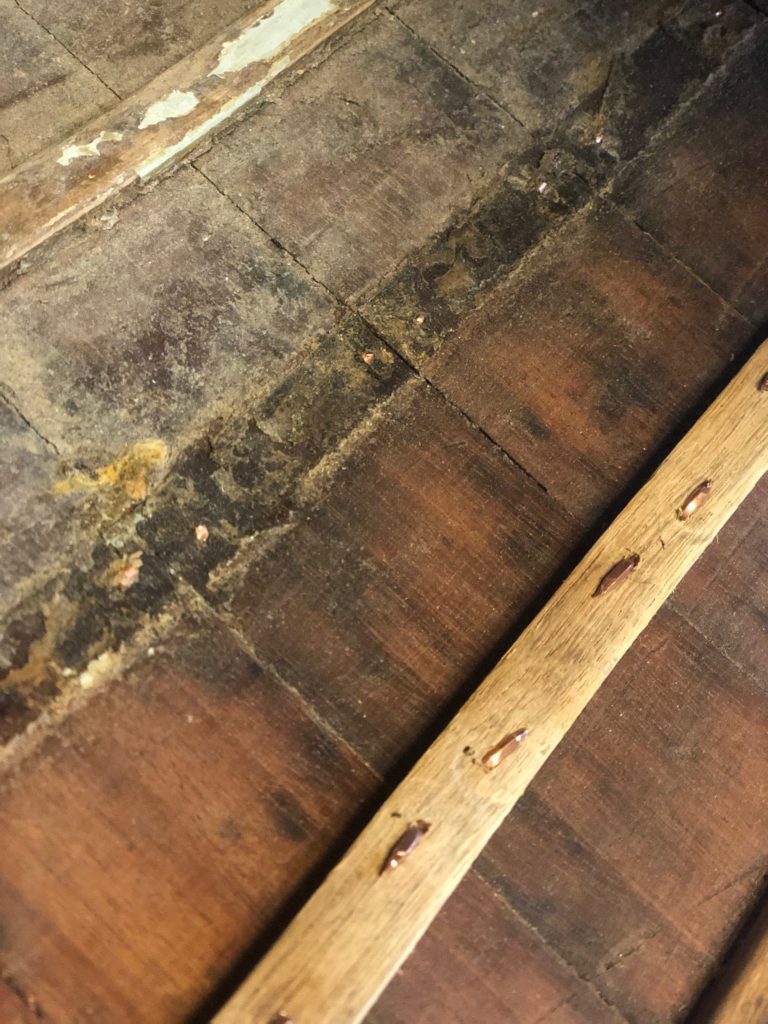
The rove comes off after a few seconds of drilling
With the rove removed the nail can be knocked through and removed
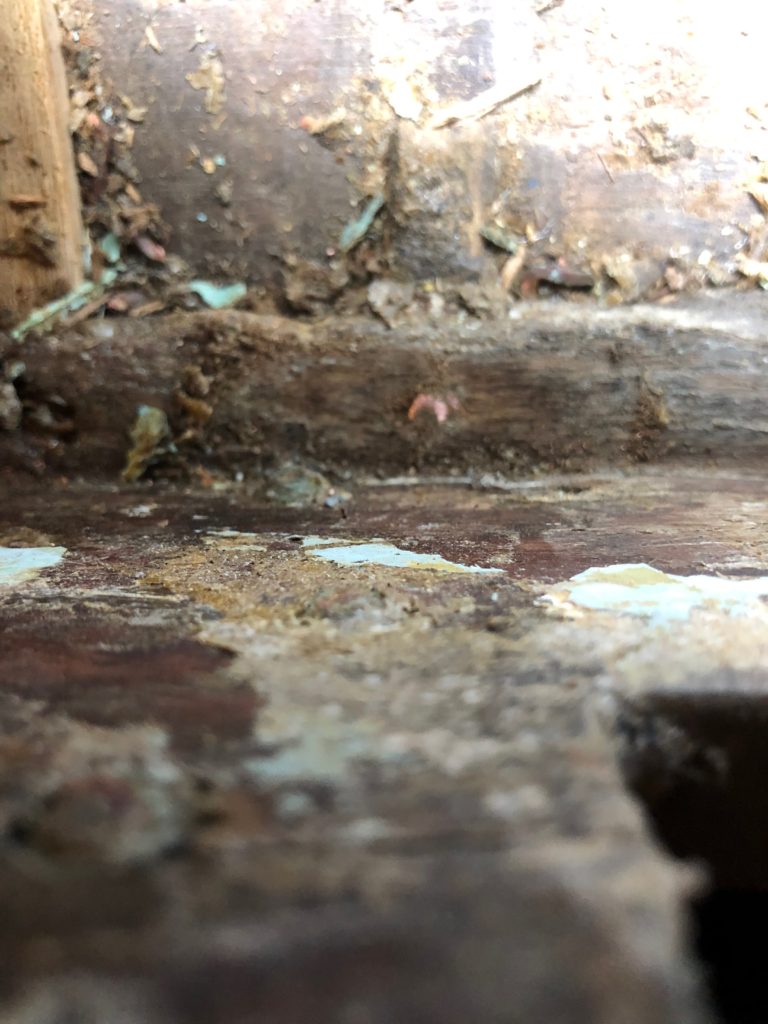
With the nail removed all that is left to do is remove the small piece of rib that is rebated into the keel
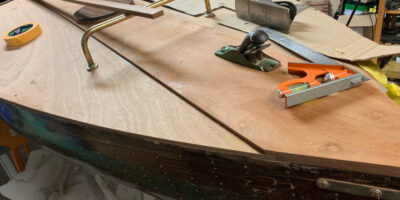
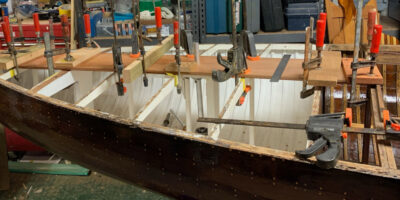
With all the rib and nails removed a couple of coats of paint stripper are applied and the new rib can be fitted.
Leave a Reply