
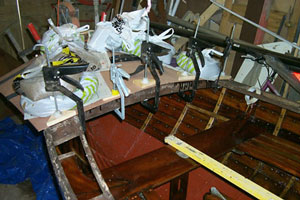
After repairing the the hog and keel it was time to replace the broken ribs. As I had the seats out and everything stripped out of the boat I had a good look at all the ribs and found that the rear full width ribs needed replacing along with a couple on the starboard side. So, after a quick call to Dennis at Dartmoor Hardwoods in Princetown I had enough oak to do the job and all the new ribs were steamed in and fixed in the copper rivits and roves.
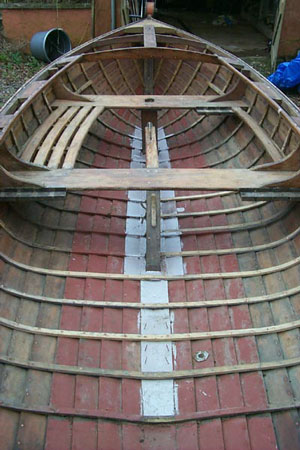
New ribs installed
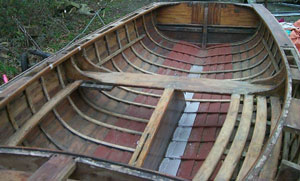
New ribs installed
Once the new ribs were put in it was time to turn the boat over and strip off all the varnish. I took the boat back to bare wood and spent a happy couple of weeks applying 2 coats of UPC followed by about 14 coats of Schooner varnish. At least I think it was 14 coats…..I lost count toward the end.
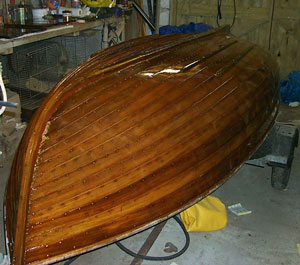
Shiney varnish

Starboard side all finished
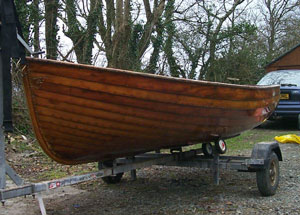
Port side all finished
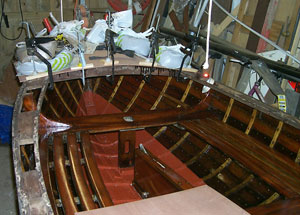
With the hull varnished it was time to sort out the interior, this was given 7 coats of Le Tonkinois and the bildes treated to a few coats of bilge paint.
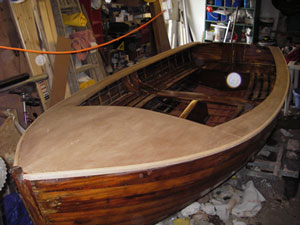
The decks were in a poor state, despite only having been replaced a few years ago, but they weren’t varnished underneath and had weathered badly. A trip to Robbins of Bristol was called for and I returned with a lovely sheet of Super Eclipse Mahogany Ply with an excellent grain. All that need to happen now was to glue it to the decks beams using bags of sand and loads of clamps to secure it in place.
Securing the foredeck took lots of clamps and bags of sand
The le Tonkinois looks great
The last side deck being glued in place
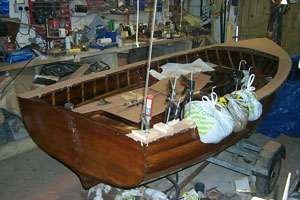
Sidedecks finished with new gunwhale in place
Sidedecks finished with new gunwhale in place
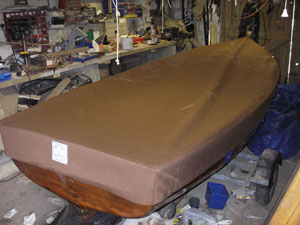
To protect the decks I had a new breathable cover made by R&J Sails in Clifton
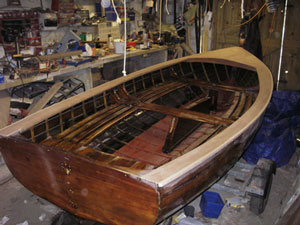
With the new ribs, the hull varnished inside and out and new decks fitted and varnished (another 14 coats I think) it was time to rig the boat and go sailing
2 responses so far ↓
1 dave harker // Aug 31, 2008 at 9:25 pm
I should be very interested to speak with you about this restoration . I have a nice tideway which I redecked with new stringers only to crack one rib when towing Having put the boat in the care of a so called wooden boat builder I was quite cynically ripped off and I would rather pour kerosene over it and chuck a match in than trust a ” Classic boat Builder “. About 95 % of them are either hobby carpenters or have done a course at a college. All the proper East Coast boat builders have either retired or died off. Leave me a phone number on e mail if you like or mail me and lets see what we have in common . Sincerely Dave .
2 Simon Lewis // Dec 19, 2012 at 1:23 pm
Hi – looks fantastic. I am about to venture into restoring my T12 – un numbered, possibly v early boat. She has similar bow fixing issues as yours, as well as the plank to transom fixings and loose stern quarter knees and rowlock blocks. I plan to replace the bronze fixings for the latter and glue the knees/blocks in place. What did you do for the plank/stem fixings – did you use oversize fixings or part plug the holes? Any tips on stripping the varnish esp the inside and preparing for varnish or Tonkinois? – that look sto be the most daunting bit! Simon
Leave a Comment